
Tracks
A track is a row on the timeline that holds clips. Tracks are the layers of your video: what sits on a higher lane draws in front of what sits on a lower one.
- Menu
- Track ▸ Hide VideoTrack ▸ Mute AudioTrack ▸ Lock TrackTrack ▸ SoloTrack ▸ Mix…
- Where
- The header at the left of each trackRight-click a track header or an empty stretch of its lane
- Agent tools
set_track
One kind of track
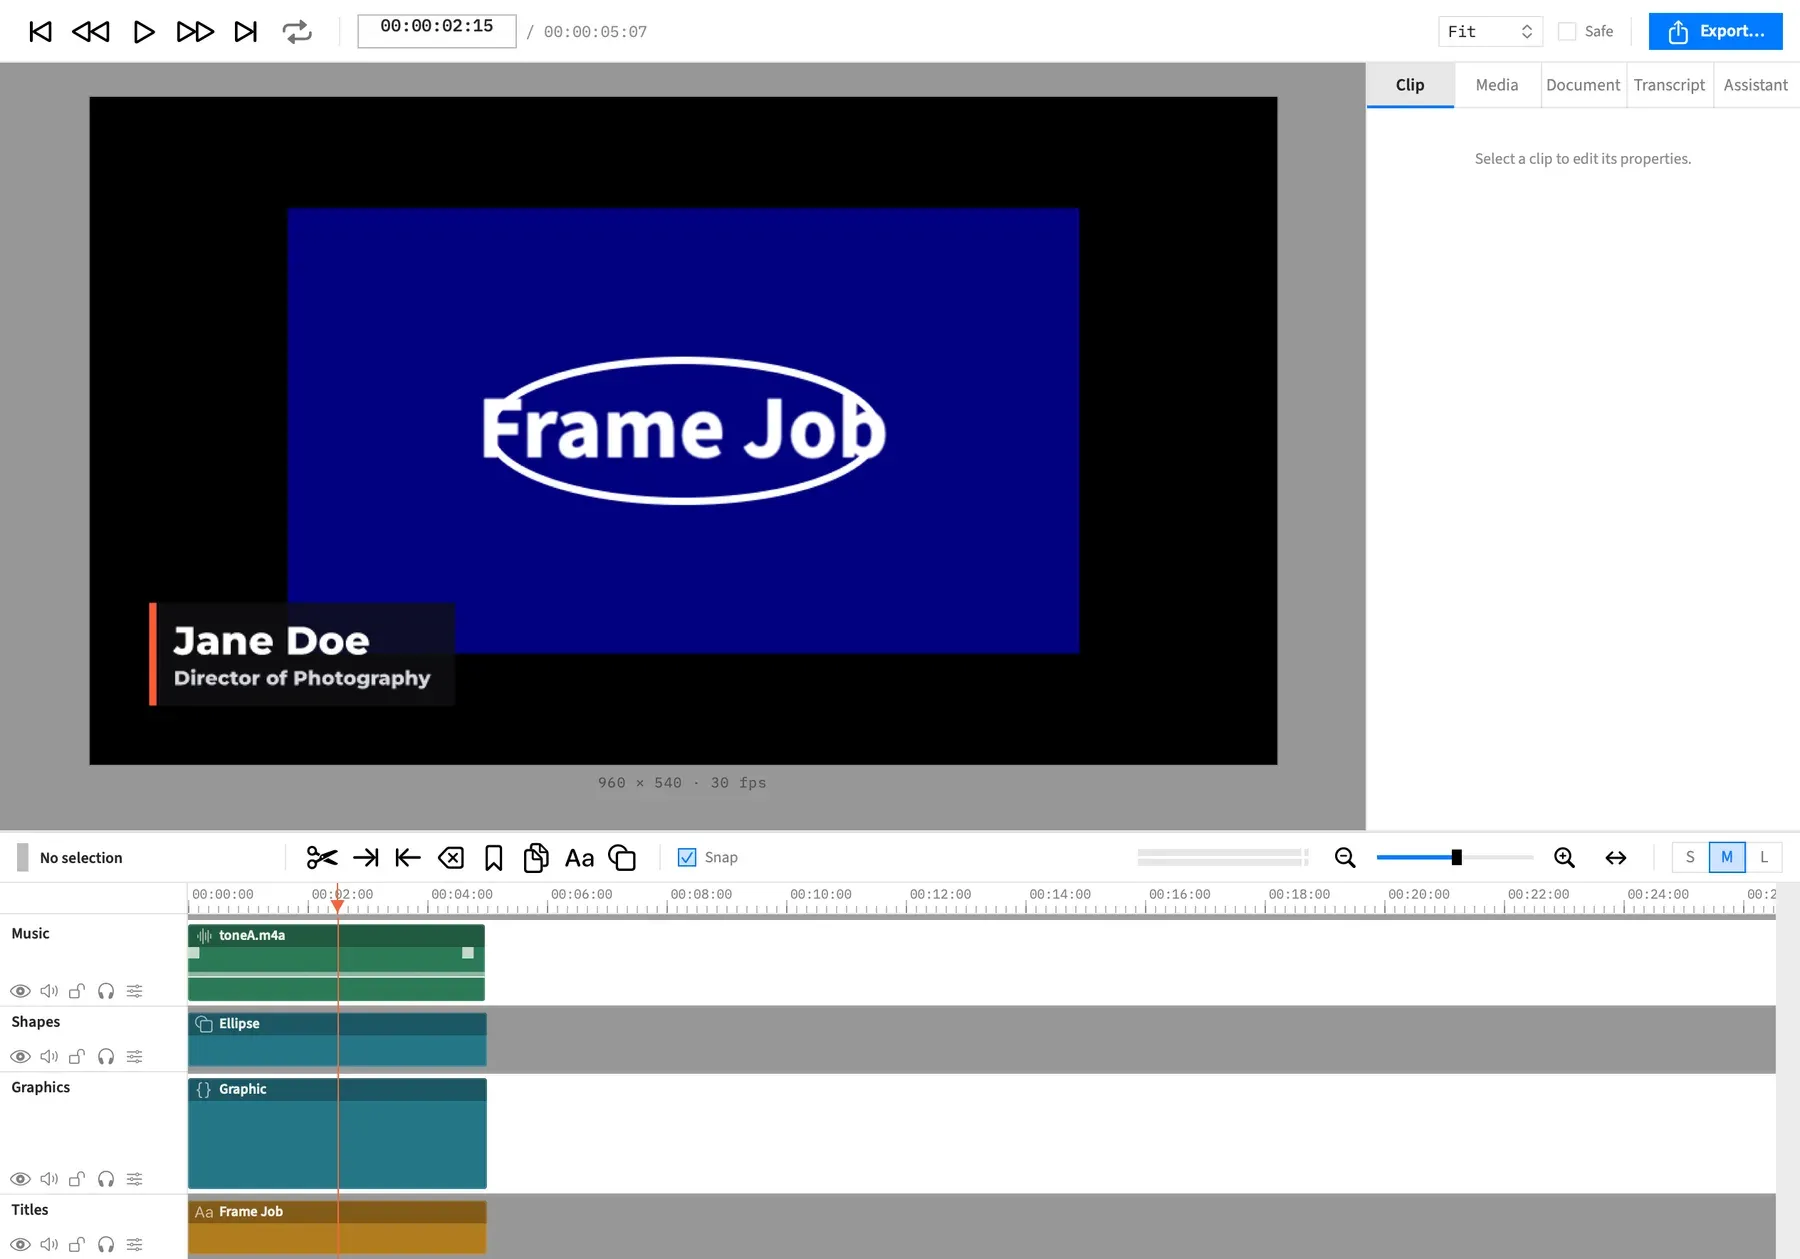
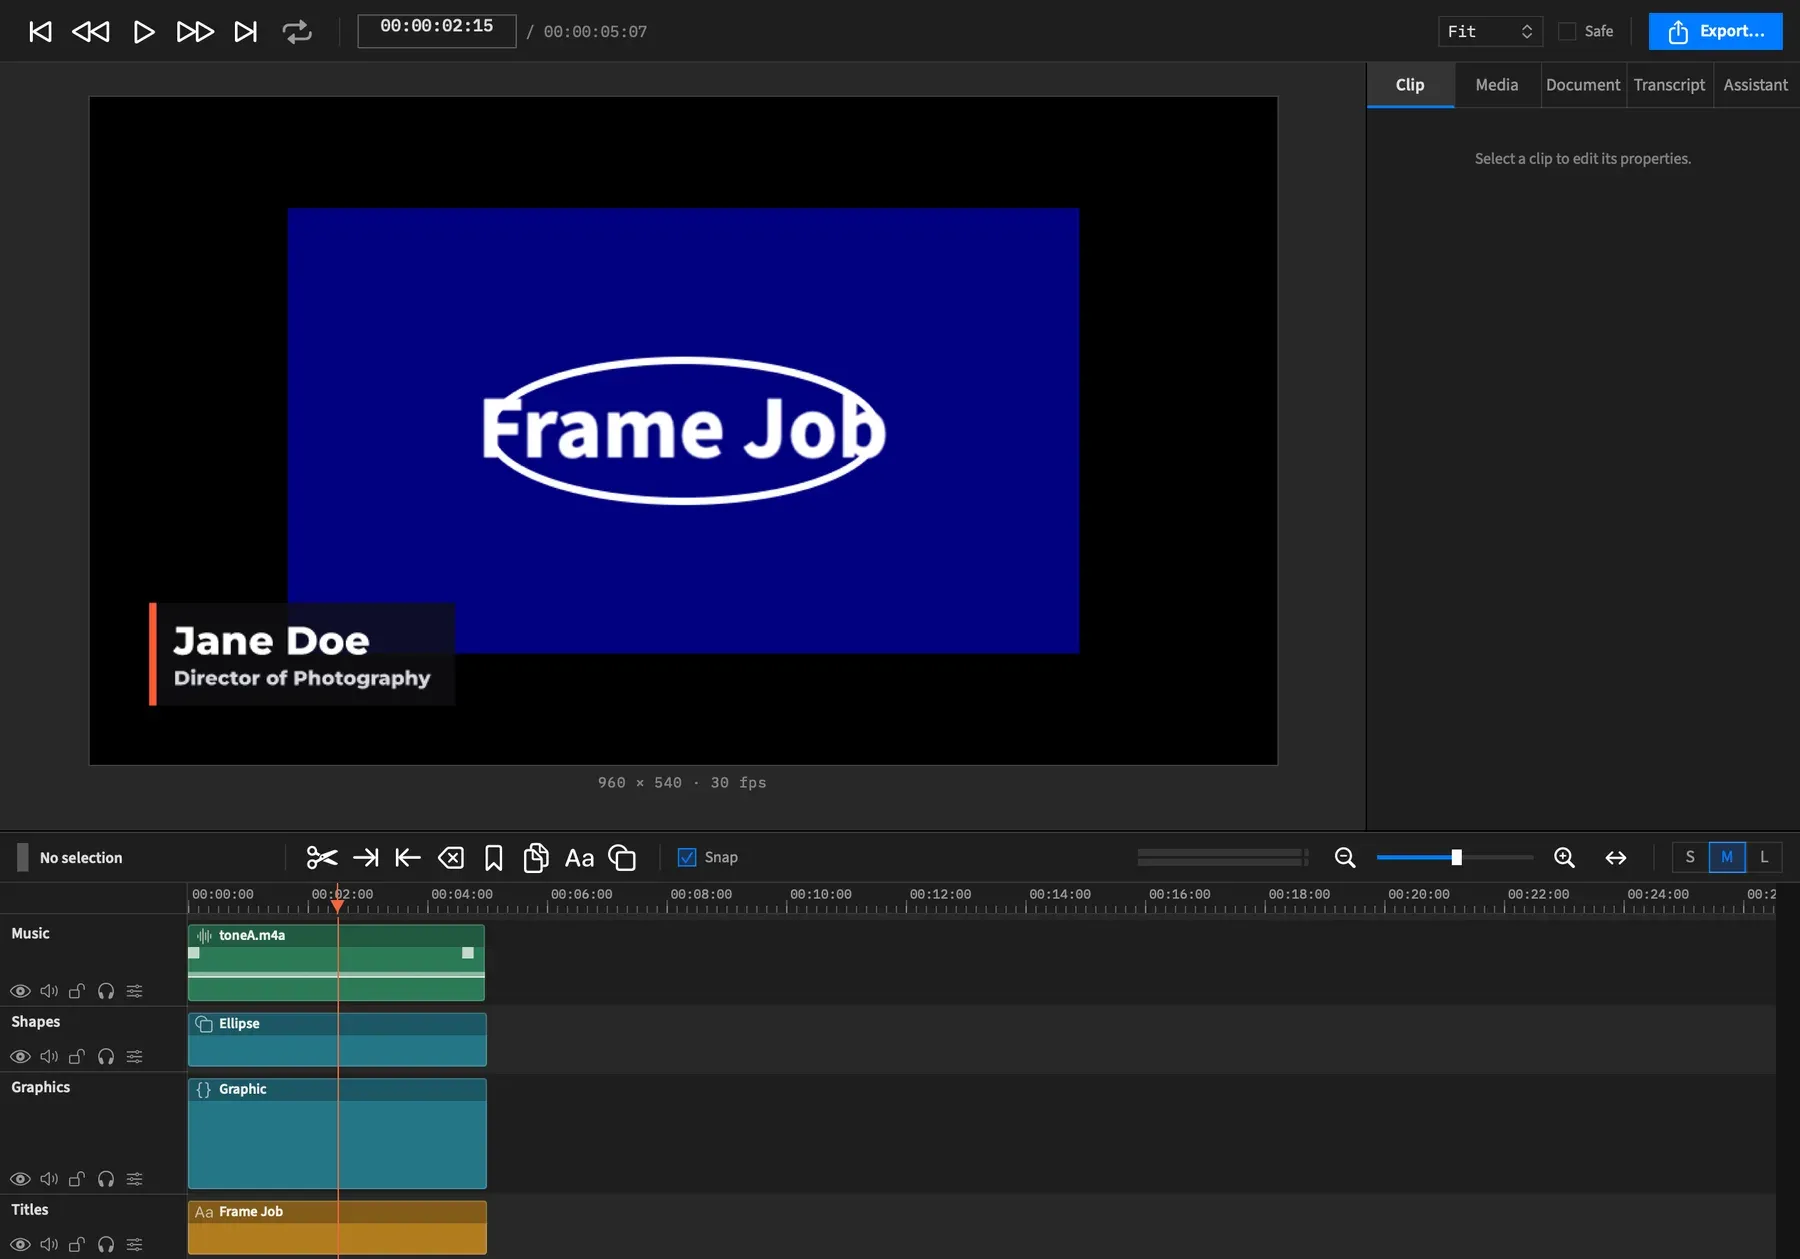
Section titled “One kind of track”Frame Job has one kind of track, and it holds any mix of clips: video, audio, a picture, text, a shape, a graphic, a nest or an adjustment clip. There are no separate video and audio tracks, so a title and a music file can sit on the same track. What a track holds only changes how tall its lane is drawn.
Clips on one track play one after another. To show two things at once, put them on two tracks. Overlapping two clips on the same track makes a transition, not a layer.
Stacking order
Section titled “Stacking order”The top lane is the front-most track and the bottom lane is the back. Where two clips overlap in the frame, the one on the higher lane draws over the one below.
The order affects the picture, not the sound. To change it, drag a track header. A matte track is the one case where a track’s neighbour matters, because it cuts the track directly behind it.
The current track
Section titled “The current track”Some commands act on one track without asking which. They use the current track: the track of the first selected clip, or the front-most track when nothing is selected. To aim one of these commands at a track, select a clip on it first.
| Command | What it does to the current track |
|---|---|
| Track ▸ Remove Track | Removes it. |
| Track ▸ Hide Video, Mute Audio, Lock Track and Solo | Flips that switch. |
| Track ▸ Mix… and Track ▸ Matte | Opens its mix panel, or sets its matte. |
| Clip ▸ Close Gap | Closes the gap under the playhead on it. |
| Edit ▸ Select All on Track | Selects every clip on it. |
| Edit ▸ Insert at Playhead and Edit ▸ Overwrite at Playhead | Places the Media tab’s selected file on it. |
The track context menu doesn’t use the current track. It acts on the track you clicked, whatever is selected.
With a nest open, the current track is one of the nest’s own tracks.
Track names
Section titled “Track names”Each header shows its track’s name. A new track gets a name such as Track 3, from the number of tracks there were when you added it. That name is the track’s own, so it stays when you reorder the stack, and two tracks can end up with the same name.
A track with no name at all shows Track N instead, counting up from the back track as 1. That label follows the track’s place in the stack.
To change a name, see Rename a track.
The track header
Section titled “The track header”Each track has a header on the left with its name, four switches and the Mix button. Click one to use it.
| Control | Symbol, off and on | What it does |
|---|---|---|
| Hide Video | Eye, struck-through eye | Takes the track’s picture out of the preview and the export. See Hide Video. |
| Mute Audio | Speaker, crossed-out speaker | Silences the track’s sound. See Mute and solo tracks. |
| Lock Track | Open padlock, closed padlock | Protects where the track’s clips sit. See Lock Track. |
| Solo | Headphones, both | Silences every other track that isn’t soloed too. Pictures stay. See Mute and solo tracks. |
| Mix | Sliders, both | Opens the track’s mix panel: volume, pan, compressor and limiter. See Track volume and pan. |
A switch that’s on is lit in the accent colour with a highlight behind it, so you can read a track’s state from the symbol or the highlight. Solo and Mix keep the same symbol either way, so the highlight is what tells you. Mix is lit while the track’s volume or pan is off its default, or a compressor or limiter is on.
Each flip of Hide Video, Mute Audio, Lock Track or Solo is one undo step. Mix opens its panel and changes nothing by itself.
The header itself does more than hold the switches:
| To | Do this |
|---|---|
| Rename the track | Double-click the header. |
| Move it up or down the stack | Drag the header. |
| Select every clip on it | ⌥-click the header. |
| Open its menu | Right-click or ⌃-click the header. |
A matte track also carries a tag in its header.
With an agent
Section titled “With an agent”set_track changes a track’s name, its four switches, its matte and its mix in one call, and anything it leaves out keeps its value. A compressor or limiter it sets replaces that whole setting, and only the timeline’s tracks have them, so it can’t set either on a track inside a nest. See Tools: tracks, markers and canvas.