
Select on the canvas
Click a clip in the preview to work on it there, without hunting for it on the timeline. It’s the same selection the timeline and the inspector use.
- Keys
- ⇧-click
- Where
- The preview canvas
- Agent tools
set_selection
Click a layer
Section titled “Click a layer”Click the picture to select the front-most visible clip under the pointer at the playhead. The click follows the clip’s rotation, so a turned clip is selected by the shape you can see, not by the box it would have upright.
The selected clip’s handles come first: a handle lying on top of another clip still grabs the handle, so you can resize a clip that has others in front of it.
Clicking a clip that’s already part of a multiple selection keeps the whole selection, so you can drag them together. To narrow it down to one clip, click empty canvas first or use the timeline.
Shift-click
Section titled “Shift-click”⇧-click adds a clip to the selection, or takes it out if it’s already selected.
Clear the selection
Section titled “Clear the selection”Click empty canvas, or the area around it, to clear the selection. This also leaves crop mode.
With ⇧ held the selection stays, and crop mode still ends.
The selection frame
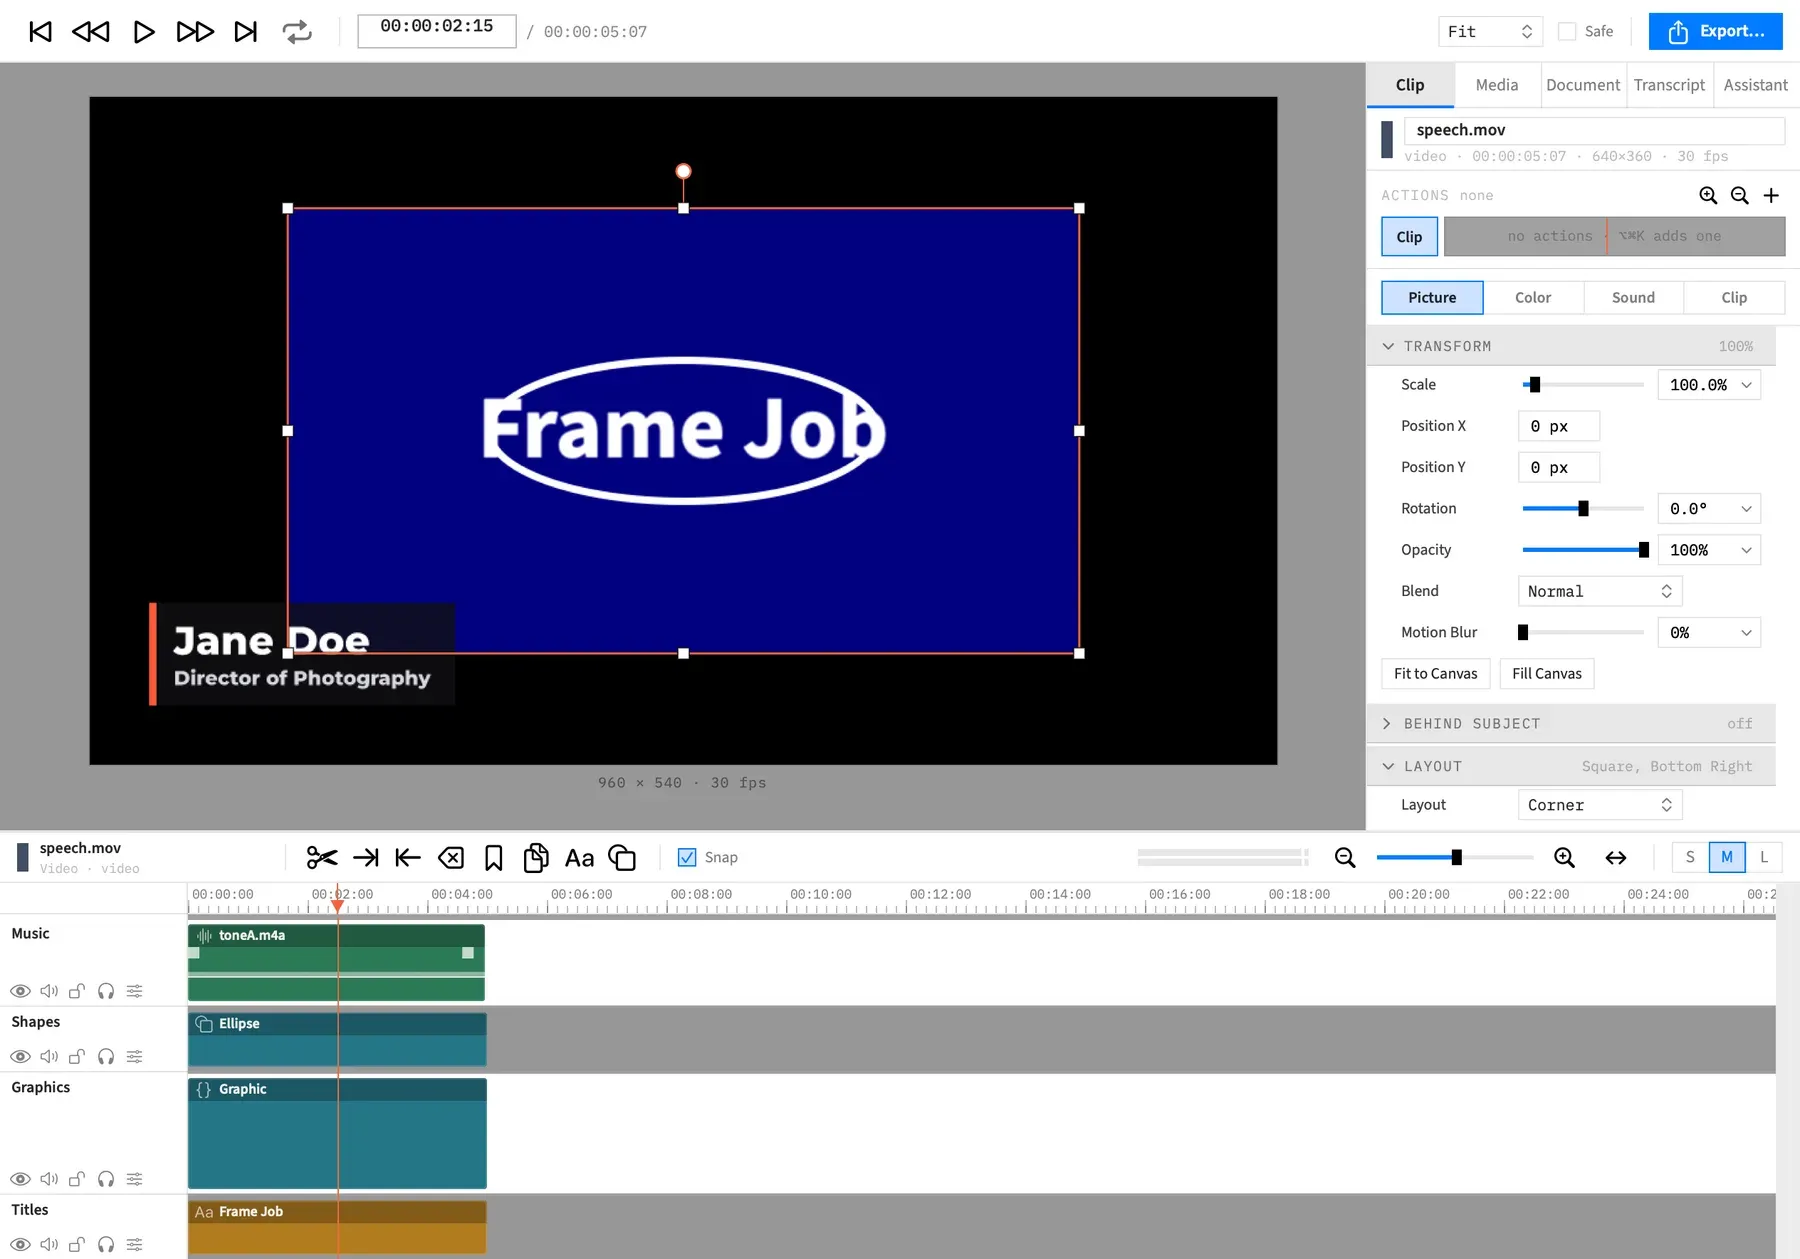
Section titled “The selection frame”Every selected clip that’s drawing at the playhead gets a coral outline with a dark backing line, so it shows on both light and dark pictures. The front-most selected clip has a heavier outline and carries the handles:
- Eight white square handles, at the corners and the middle of each edge, for scaling.
- A round grip on a stalk above the top edge, for rotating.
- On a line or arrow, a round handle at each end as well.
The handles stay the same size on screen at every zoom. The pointer shows what a handle does: a left-right or up-down resize pointer on an edge handle, and a crosshair on a corner.
A selected clip that isn’t at the playhead has no frame, because it isn’t in the picture. An adjustment clip never has one, because it has no rectangle of its own. A nest clip’s frame is the rectangle it’s placed in, and a click selects it only where something inside it draws. See Layers.
Matte clips
Section titled “Matte clips”A clip on a matte track can be selected and dragged inside its own box, even though it draws nothing there.
Because it’s in front of the clip it cuts, a click inside that box selects the matte clip. To select the clip it cuts, click outside the matte clip’s box, or use the timeline.
Good to know
Section titled “Good to know”Clips on hidden tracks can’t be clicked, and clips on locked tracks are passed over. See Hidden and locked tracks.