
Light
The Light section corrects how bright a clip is and how warm it looks, then shapes its tones. It’s usually where a grade starts.
- Where
- Clip tab ▸ Color ▸ Light
- Agent tools
set_videoset_action_end
The Light section
Section titled “The Light section”-
Select the clip and open the Color sub-tab.
-
Open the Light section by clicking its header, if it isn’t open already.
-
Drag a slider, or type in the number field beside it.
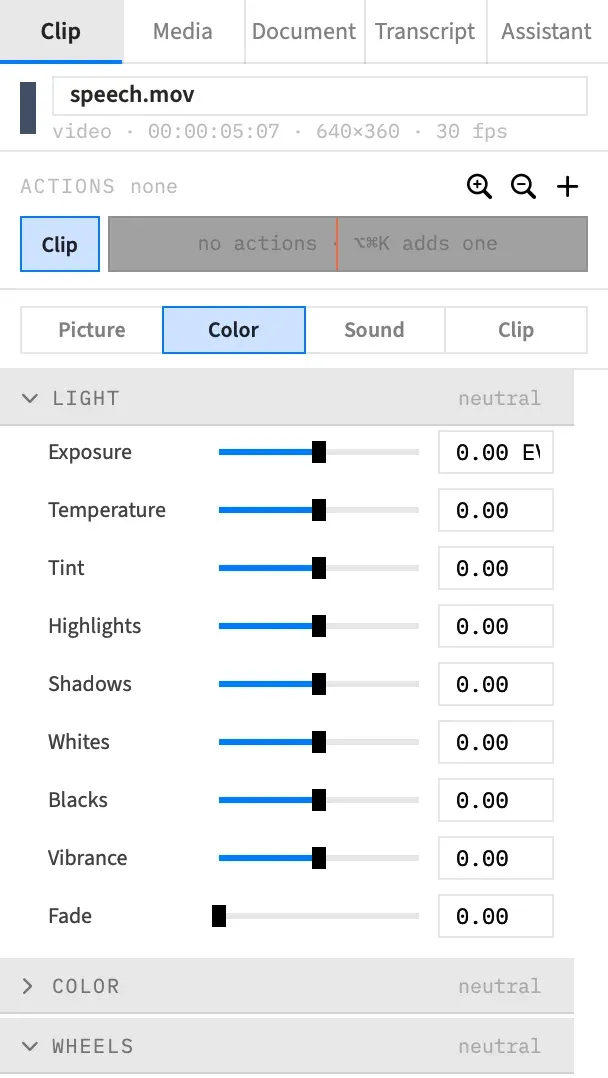
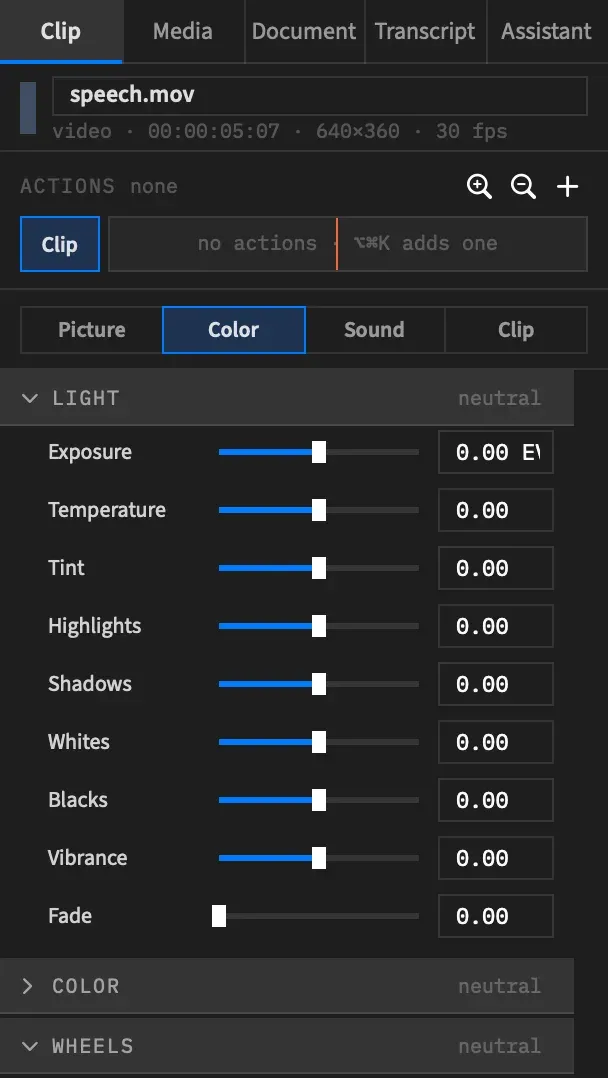
All nine controls start at 0, and each shows two decimals. The rows run in the order they act on the picture, so working down the list is a natural way to correct a clip.
| Control | Range | What it does |
|---|---|---|
| Exposure | −3 to +3 EV | Brightens or darkens in stops |
| Temperature | −1 to +1 | Warmer or cooler |
| Tint | −1 to +1 | Toward magenta or green |
| Highlights | −1 to +1 | Lifts or lowers the brighter half of the tones |
| Shadows | −1 to +1 | Lifts or lowers the darker half of the tones |
| Whites | −1 to +1 | Stretches the tones toward white, with black held |
| Blacks | −1 to +1 | Raises or deepens the dark end, with white held |
| Vibrance | −1 to +1 | Changes saturation mostly in colours that have little of it |
| Fade | 0 to 1 | Lifts black and lowers white, for a washed-out film look |
Reset in the header sets all nine back to 0 as one undo step, Undo Light, and leaves the Color section alone. The header reads “neutral” or “adjusted”.
With an action selected, every control here sets the value the action animates to, rather than the clip’s own value.
Set the exposure
Section titled “Set the exposure”Exposure brightens or darkens the picture in stops, from −3 to +3 EV. +1 doubles the light and −1 halves it.
It works on linear light, meaning the amount of light in the scene rather than the encoded picture values, the way a camera’s exposure does. So black stays black. To lift every level by the same amount, black included, use Brightness.
To judge exposure by measurement rather than by eye, watch the waveform as you drag.
Set the white balance
Section titled “Set the white balance”Temperature and Tint work on linear light, like Exposure. Both run from −1 to +1.
| Control | Positive | Negative | At the limit |
|---|---|---|---|
| Temperature | Warmer: more red, less blue | Cooler: more blue, less red | At +1 red rises and blue falls by 0.3 of a stop. −1 is the reverse. |
| Tint | Toward magenta | Toward green | At +1 green falls by 0.3 of a stop, which reads as magenta. −1 raises it. |
There’s no white-balance eyedropper, and no automatic colour balance or shot matching. To balance by measurement, read something neutral on the Parade and move these two until the channels line up.
Lift or lower the highlights and shadows
Section titled “Lift or lower the highlights and shadows”Highlights moves the brighter half of the tones and Shadows the darker half. Both run from −1 to +1, and neither touches the other’s half.
At ±1 each moves its tones by up to a quarter of the full range. The move is strongest at the extreme, white for Highlights and black for Shadows, and fades to nothing at the middle of the tonal range.
Set the white and black points
Section titled “Set the white and black points”Whites stretches the tones toward white and holds black where it is. Blacks does the same at the other end: positive raises the dark end, negative deepens it, and white is held. Both run from −1 to +1.
Each is a stretch of up to 15 %.
Add colour with Vibrance
Section titled “Add colour with Vibrance”Vibrance changes saturation mostly in colours that have little of it, from −1 to +1. Colours that are already strong are left mostly alone, which is the difference from Saturation, which moves every colour alike.
At +1 a nearly grey colour gets about twice its saturation, and at −1 it goes grey. A fully saturated colour doesn’t change at either end.
Fade the picture
Section titled “Fade the picture”Fade lifts black and lowers white for a washed-out film look. It runs from 0 to 1 and has no negative side. At 1, black rises to 10 % and white falls to 95 %.
With an agent
Section titled “With an agent”One set_video call can set any of the nine Light controls and the four Color controls together, in its color object, and it leaves the ones it doesn’t name alone. Each key is its control’s name in lower case, such as exposure or fade, and 0 means no change. A positive temperature is warmer and a positive tint is more magenta. set_action_end takes the same keys for an action.
A set_video call with a value outside a Light control’s range fails, rather than being pulled back to the limit as a typed number is. set_action_end does take such a value, and the action stops at the limit when it’s drawn. See Tools: picture and grade.
Good to know
Section titled “Good to know”- A number you type outside a control’s range is pulled back to the nearest limit.
- Light acts after the Color section’s four controls, even though the tab lists it first. See The fixed grade order.
- On an adjustment clip, Light grades everything behind the clip.
- In an HDR project, Exposure works on the scene’s light as HLG encodes it, so +1 still doubles the light.