
EQ
The EQ turns parts of a clip’s sound up or down by frequency. Use it to take out rumble, thin out a boomy voice or make words easier to follow.
- Where
- Clip tab ▸ Sound ▸ EQ
- Agent tools
set_audio
Shape a clip’s tone
Section titled “Shape a clip’s tone”-
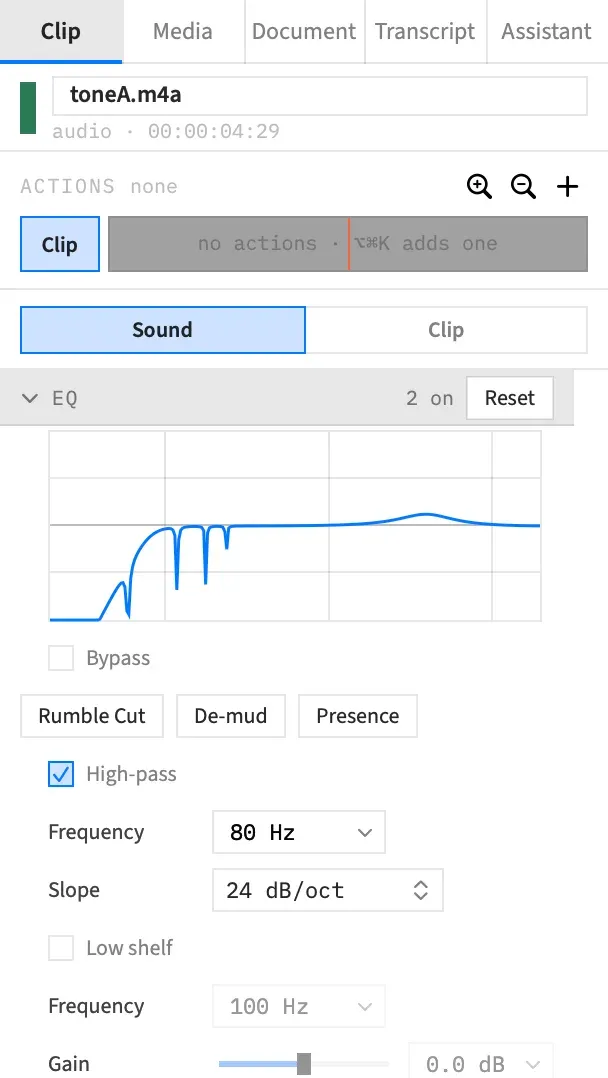
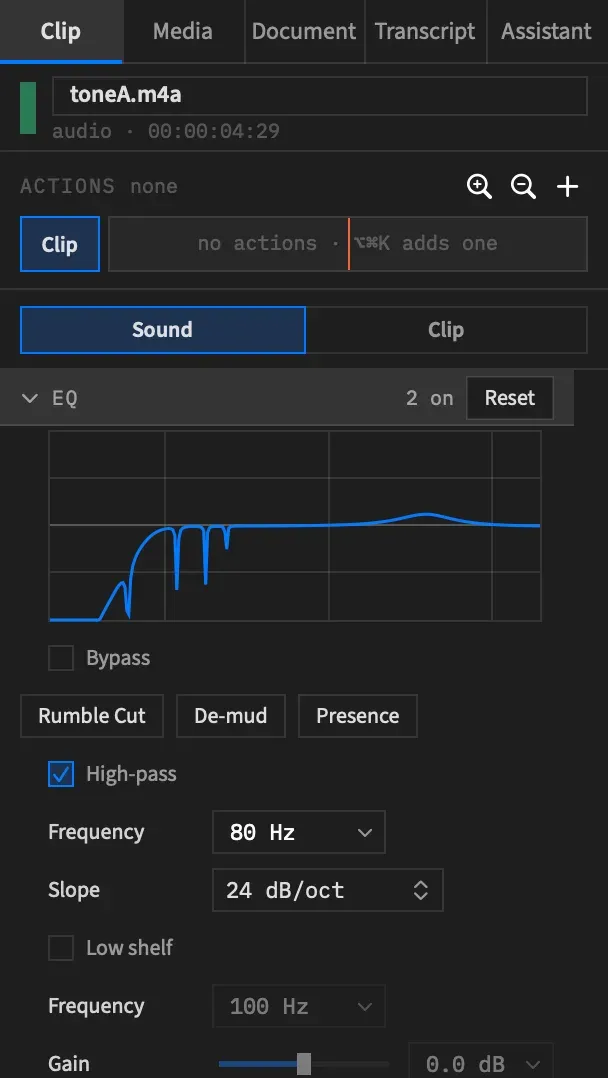
Select the clip and open the Sound sub-tab of the Clip tab. The EQ section starts closed, so open it.
-
For a voice, press a preset. Otherwise tick the part you want.
-
Set its Frequency, and its Gain, Q or Slope. The curve at the top of the section shows the result.
-
Tick Bypass to compare with and without.
The section’s header shows how many parts are on, such as “2 on”, or “bypassed”, or “off”. Reset appears there once the EQ has settings, and turns the whole EQ off.
Presets
Section titled “Presets”Each preset sets one part and turns Bypass off. It leaves the other parts alone, so the three combine.
| Preset | What it sets |
|---|---|
| Rumble Cut | High-pass on at 80 Hz, 24 dB/oct |
| De-mud | Band 1 at 300 Hz, −3 dB, Q 1 |
| Presence | Band 3 at 4 kHz, +3 dB, Q 1 |
A preset replaces whatever its part held. Press De-mud after setting up Band 1 by hand and your Band 1 settings are gone.
The seven parts
Section titled “The seven parts”The EQ has seven parts, each with its own checkbox, and the sound passes through them in this order. Ticking a part turns it on at its default. Unticking it clears that part’s settings and leaves the others as they are, so ticking it again starts from the default. To switch parts off without losing them, use Bypass.
A shelf or band starts at 0 dB, and a Gain of 0 dB changes nothing, so you won’t hear one until you move its Gain. The High-pass and Low-pass take effect as soon as you tick them.
High-pass
Section titled “High-pass”Turns down everything below its Frequency. It starts at 80 Hz and 12 dB/oct, and its quick picks are 40, 60, 80, 100 and 120 Hz.
Low shelf
Section titled “Low shelf”Turns everything below its Frequency up or down by its Gain. It starts at 100 Hz and 0 dB, and its quick picks are 80, 100, 150 and 200 Hz.
Band 1, 2 and 3
Section titled “Band 1, 2 and 3”Each band turns the frequencies around its Frequency up or down by its Gain, and Q sets how narrow the affected range is. The bands start at 300 Hz, 1000 Hz and 4000 Hz, all at 0 dB and Q 1. All three have the same frequency quick picks: 100, 300, 1000, 2500, 4000 and 8000 Hz.
High shelf
Section titled “High shelf”Turns everything above its Frequency up or down by its Gain. It starts at 8000 Hz and 0 dB, and its quick picks are 6000, 8000, 10000 and 12000 Hz.
Low-pass
Section titled “Low-pass”Turns down everything above its Frequency. It starts at 12000 Hz and 12 dB/oct, and its quick picks are 8000, 10000, 12000 and 16000 Hz.
Frequency, Gain, Q and Slope
Section titled “Frequency, Gain, Q and Slope”A part’s controls are greyed out until you tick it. Which ones it has depends on its kind.
| Control | What it does | On | Range | Default |
|---|---|---|---|---|
| Frequency | Where the part acts: the corner of a pass or shelf, the centre of a band. It’s a typed field with quick picks and no slider. | Every part | 20 to 20000 Hz | See the seven parts |
| Gain | How far a shelf or band turns the sound up or down. Quick picks: −6, −3, 0, 3, 6. | Shelves and bands | −24 to +24 dB | 0 dB |
| Q | How narrow a band is. Higher is narrower. Quick picks: 0.5, 0.7, 1, 2, 4. | Bands | 0.1 to 10 | 1 |
| Slope | How steeply a pass falls away, in decibels per octave. 24 is the steeper. | High-pass and Low-pass | 12 dB/oct or 24 dB/oct | 12 dB/oct |
A number typed outside the range goes to the nearest end of it.
The response curve
Section titled “The response curve”The first row of the section draws how much each frequency from 20 Hz to 20 kHz is turned up or down. The middle line is 0 dB. Upright lines mark 100 Hz, 1 kHz and 10 kHz, and level lines mark +12 and −12 dB. The curve covers ±24 dB, and anything past that sits at the edge.
The notches from Hum removal are drawn on the same curve, so you see the two together.
The curve only shows the result. It has no handles to drag. It’s greyed while Bypass is on, and it isn’t drawn when the selected clips have different EQ or hum settings.
Bypass
Section titled “Bypass”Tick Bypass to silence the EQ and keep its settings, so you can compare with and without. It’s off by default, and it’s greyed out until the clip has an EQ. Pressing a preset turns it off.
Change the EQ over time
Section titled “Change the EQ over time”With an action selected, the EQ’s controls write the action’s end. Frequency, Gain and Q move smoothly across the action. Slope, Bypass and turning a part on or off change at the action’s end, with no glide. Unticking a part with an action selected turns it off at the end of the action.
Frequency has no slider, so when the value at the playhead differs from the one shown, the row says so in words, such as “now 450 Hz”.
Good to know
Section titled “Good to know”- The EQ runs after Channels, and before Hum removal and Noise Reduction. How audio works has the whole order.
- The EQ doesn’t change the Loudness readout in the Volume section, but Normalize in Loudness mode measures through it.
- Enhance Voice presses Rumble Cut for you. Match Audio with its EQ option on replaces the Low shelf, the three bands and the High shelf, keeps the High-pass and Low-pass, and turns Bypass off.
- At a cut between two clips, the EQ’s settings switch with no glide.
- On a nest clip the EQ has no effect. Open the nest with ⌘↓ and set it on the clips inside.
With an agent
Section titled “With an agent”set_audio sets the same parts through its eq argument. A part it leaves out keeps what it holds, null turns one part off, and "eq": null turns the whole EQ off. See Tools: clip sound.
Two things differ from the inspector. Turning a band on at its defaults starts it at 1000 Hz whichever band it is, where the inspector starts the three at 300, 1000 and 4000 Hz. And a value outside its range is an error that changes nothing, where the inspector moves it to the nearest end.
To switch one part off at the end of an action, an agent names it in the action’s off list. See Tools: animation.