
The Sound tab
The Sound tab is where you set how a clip plays: how loud it is, how it’s cleaned up and where it sits in the mix.
- Where
- Clip tab ▸ Sound
- Agent tools
set_audioget_project
When the tab appears
Section titled “When the tab appears”The Clip tab shows Sound when the selection includes at least one clip that plays sound. That means a clip whose file has an audio track with its sound switched on, or a nest that holds audio. A clip whose sound is switched off doesn’t count.
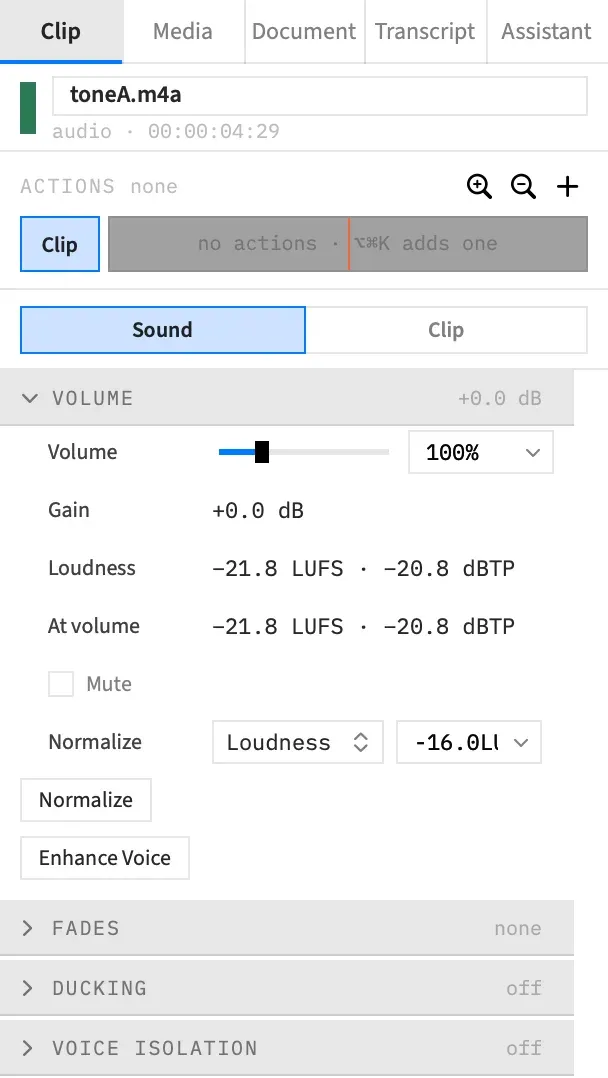
Click a clip on the timeline and the inspector moves to the Clip tab. An audio-only clip has no picture, so the tab opens straight on Sound. For a video clip, choose the Sound sub-tab.
The sections
Section titled “The sections”Each section header shows a one-line summary of its state, so you can read a clip’s setup with every section closed. The summary is drawn a little stronger when the section differs from its default.
| Section | What it’s for | Its summary reads | Reset does |
|---|---|---|---|
| Volume | Level, readouts, Mute, Normalize and Enhance Voice | “muted”, “silent” at 0 %, or the gain, such as “+3.5 dB” | Volume to 100 %, Mute off |
| Fades | Fade in and fade out | Both lengths, such as “0.50 · 1.00 s”, or “none” | Both lengths to 0 |
| Ducking | Lowers every other clip while this one plays | The level, such as “20%”, or “off” | Turns it off |
| Voice Isolation | Keeps the voice, removes what’s around it | The amount, such as “80%”, or “off” | Turns it off |
| Voice Effect | One of sixteen effects | The effect and amount, such as “Space: Hall 100%”, or “off” | Turns it off |
| Channels | Which channels of a stereo file play | “Both”, “Left Only”, “Right Only” or “Swap Left and Right” | Back to Both |
| EQ | Shapes the tone | Parts switched on, such as “2 on”, “bypassed”, or “off” | Turns it off |
| Hum | Removes mains hum and its harmonics | The mains and harmonics, such as “60 Hz · 4”, or “off” | Turns it off |
| Noise Reduction | Lowers steady background noise | The amount, such as “50%”, or “off” | Turns it off |
| Gate | Turns the pauses between phrases down | The threshold, such as “−10 dB”, or “off” | Turns it off |
| Leveller | Evens out a speaker who moves on and off the microphone | The target, such as “0 dB”, or “off” | Turns it off |
| De-esser | Tames harsh “s” sounds | The frequency, such as “6.0 kHz”, or “off” | Turns it off |
| Compressor | Smooths the volume | The ratio, such as “3.0:1”, or “off” | Turns it off |
| Mix | Pan, Mix to mono, Detach Audio and Attach Audio | “centre”, “mono”, or the pan, such as “left 40” | Pan to centre, Mix to mono off |
| Limiter | Holds the clip’s peaks under a ceiling | The ceiling, such as “−1.0 dBTP”, or “off” | Turns it off |
Voice Isolation through Limiter are in the order sound passes through them. Volume, the fades and ducking apply last, like a fader. See The fixed signal order.
Click a header to open or close its section. Every section starts closed, and Frame Job remembers what you open and close. If the tab would show nothing but closed headers, the first section you haven’t closed yourself opens.
Reset a section
Section titled “Reset a section”Each header has a Reset button that appears when the section differs from its default. It’s one undo step, and it reaches every selected clip.
Two resets leave something behind:
- Reset on Fades clears the two lengths and keeps In shape and Out shape.
- Reset on Volume leaves the Limiter alone, even one that Normalize turned on.
With an action selected, a section that can animate shows Clear in the same place, while the action sets something in it. Clear removes the section from the action. See Set what an action animates to.
Pick a common value
Section titled “Pick a common value”Most number fields have a chevron at their right end that opens a short menu of common values, beside the slider and the typed field. The current value is ticked. For example:
| Control | Quick picks |
|---|---|
| Volume | 0, 50, 100, 150, 200, 400 % |
| Fade in and Fade out | 0, 0.25, 0.5, 1, 2 s |
| Limiter ▸ Ceiling | −1, −2, −3, −6 dBTP |
A number you type is held to the control’s range. See Inspector fields.
Edit several clips at once
Section titled “Edit several clips at once”Select the clips and change a control. The change goes to every selected clip that has sound, as one undo step. A control whose clips hold different values is marked mixed.
The sections with a checkbox, such as Ducking and Compressor, work as one unit. Changing one of their controls gives every selected clip all of that section’s values as the first clip has them, not only the value you changed.
Normalize and Enhance Voice are the exceptions to one shared change. Each clip gets its own settings from its own measurement. The Loudness and At volume readouts show “—” with several clips selected, because they describe one clip.
With an agent
Section titled “With an agent”set_audio changes any of these settings on one or more clips in one call, and get_project reads them back. An agent sends only what should change, and everything else stays as it is. A value out of range is turned down with a message naming it, not adjusted to fit. See Tools: clip sound.
set_audio always writes the clip’s own settings. To animate one, an agent uses an action instead.