
A tour of the editor window
Each project opens in one window. This page names its parts and says where to read about each one.
- Menu
- Window ▸ MinimizeWindow ▸ Zoom
- Keys
- ⌘M
- Agent tools
render_frame
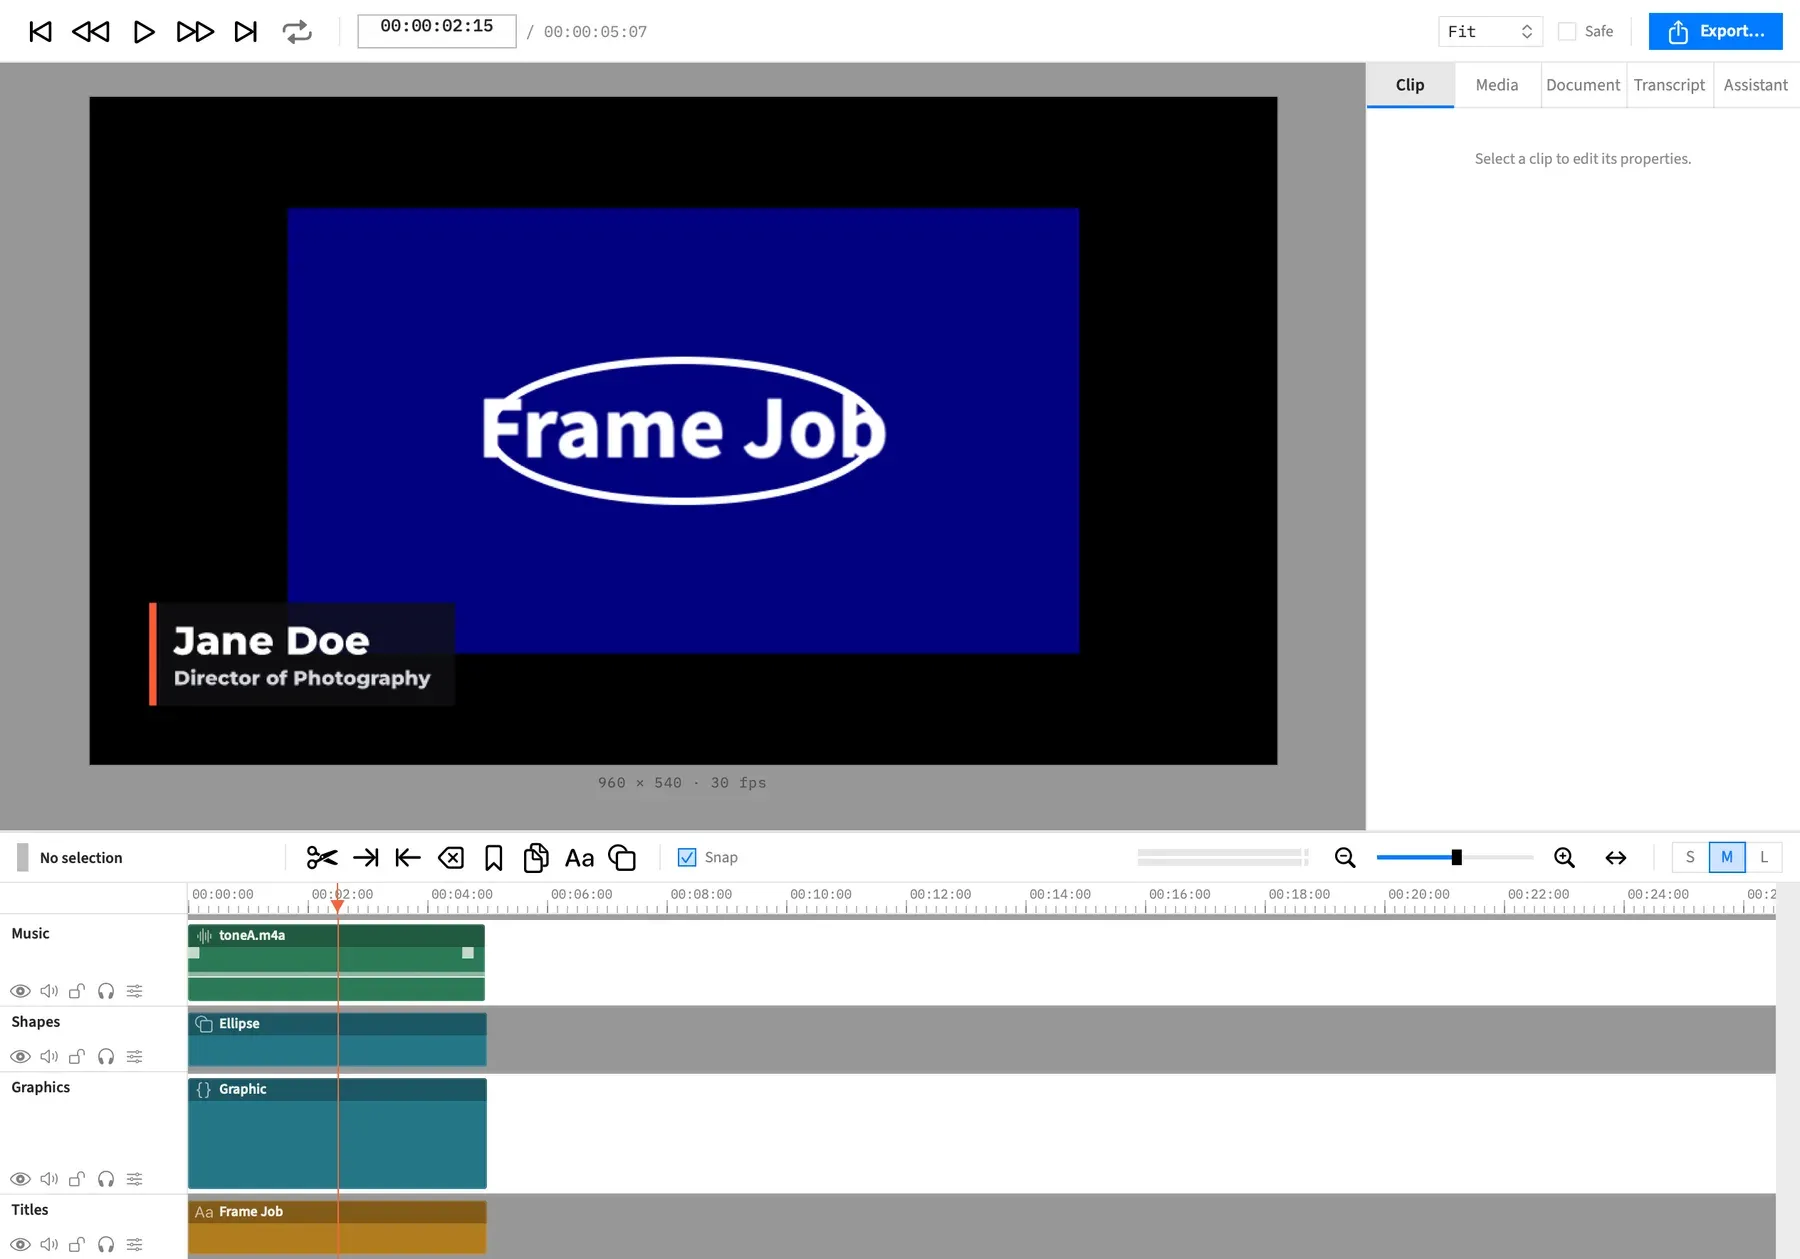
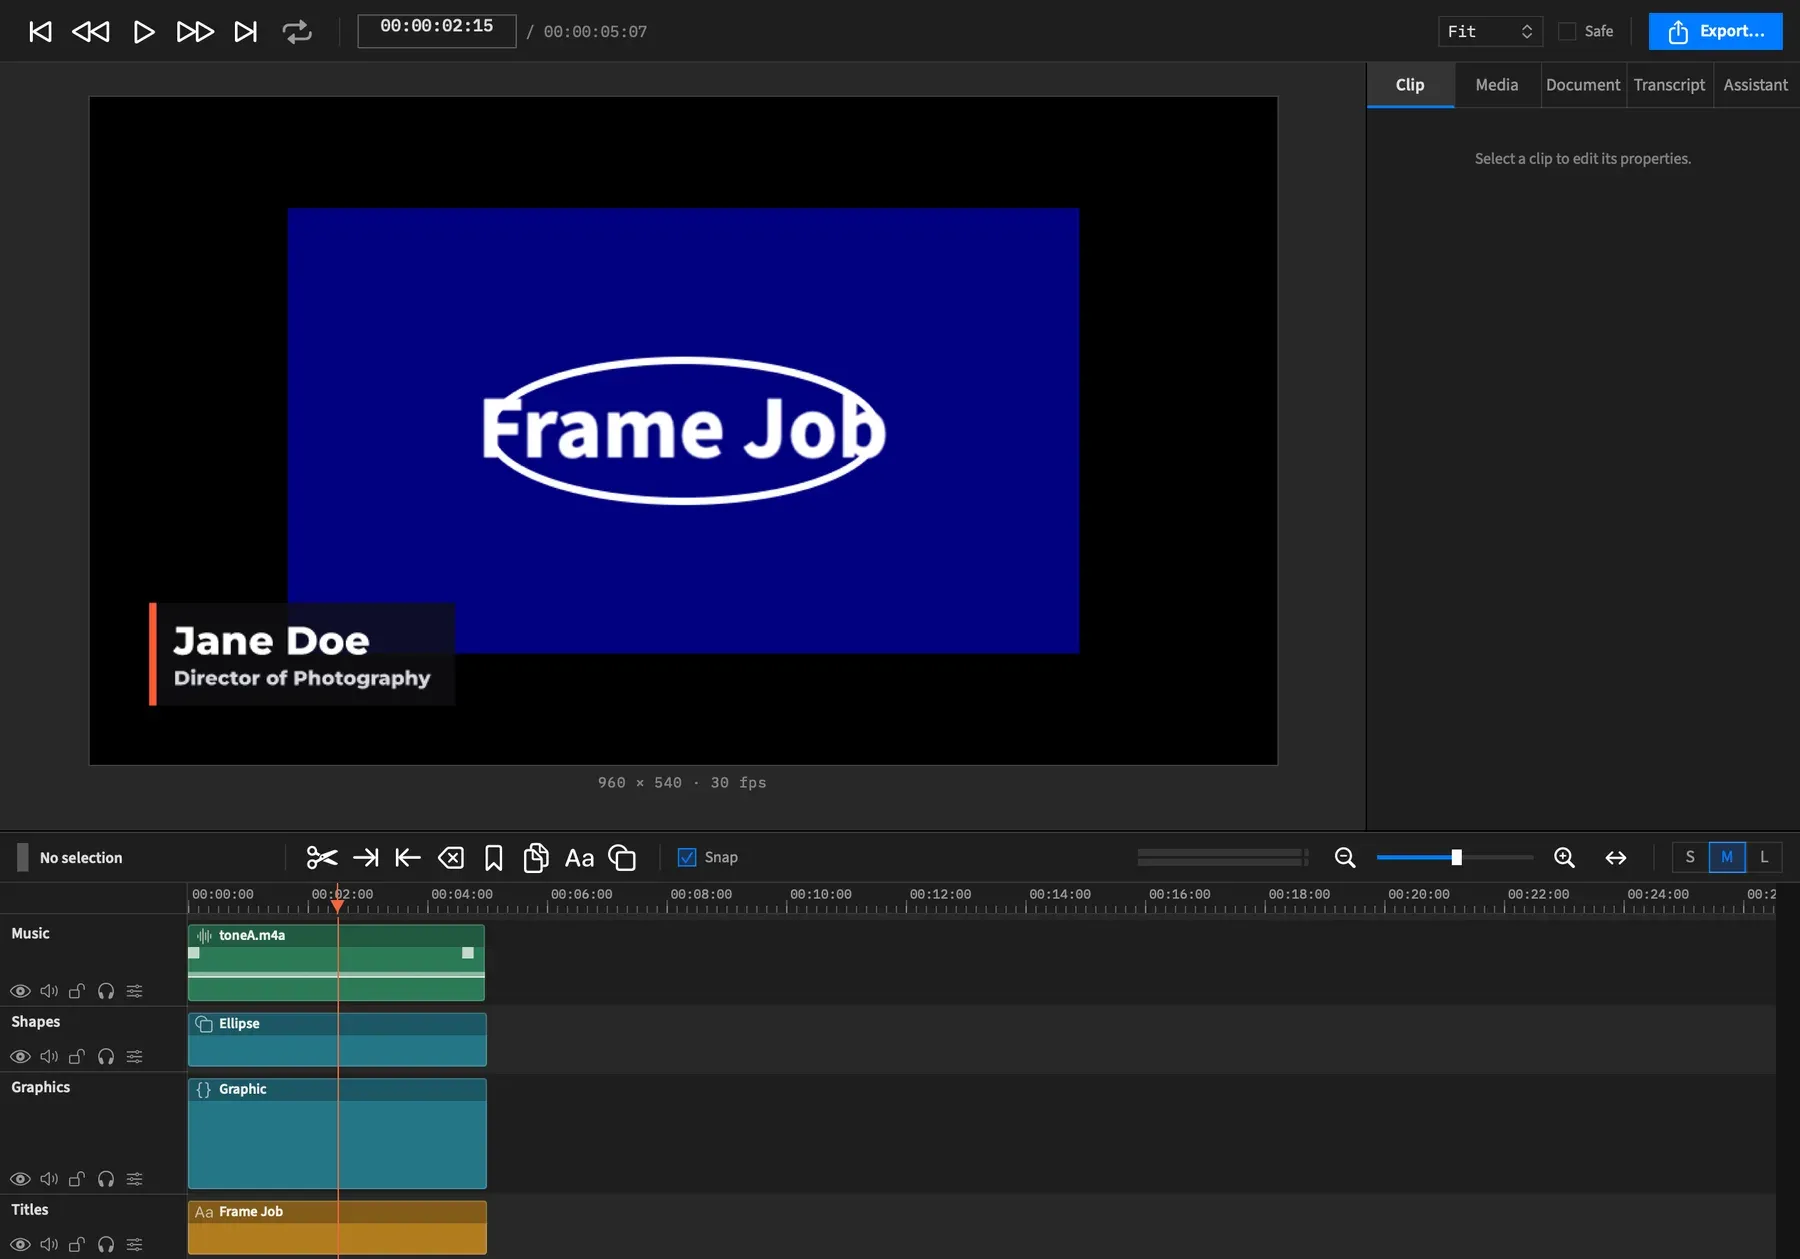
Window layout
Section titled “Window layout”| Part | Where | What it holds |
|---|---|---|
| Title bar | Top | The project’s name, its canvas size and frame rate, and “edited” |
| Toolbar | Under the title bar | Transport, timecode, preview zoom, Safe and Export… |
| Preview | Middle left | The frame under the playhead |
| Inspector | Middle right | The Clip, Media, Document, Transcript and Assistant tabs |
| Timeline bar | Above the timeline | The selection block, clip buttons, Snap, the level meter, zoom and track size |
| Timeline | Bottom | The ruler, the track headers and the lanes |
A new window sizes itself to the canvas, up to 1280 × 720, plus the panes around it. It’s never more than 85 % of the screen, so a 4K project doesn’t open a 4K window. The smallest a window can be is 900 × 620 points.
Title bar
Section titled “Title bar”The title follows the project’s name and changes when you save or rename it. A blank project reads “Untitled Project”. A movie you’ve opened but not saved reads as the movie’s name.
The subtitle gives the canvas size and frame rate, then “edited” while there are unsaved changes:
1920 × 1080 · 30 fps · edited
“edited” clears after ⌘S and after every silent autosave. Projects autosave in place, so the close button shows no dot. See Undo and saving.
The subtitle updates after any change to the canvas, including one an agent makes.
Toolbar
Section titled “Toolbar”From left to right:
| Control | What it does | Read more |
|---|---|---|
| Go to Start (Home) | Moves the playhead to the start | Jump around the timeline |
| Previous Edit Point (↑) | Jumps back to the last edit point | Jump around the timeline |
| Play / Pause (Space) | Plays and pauses | Play, pause and shuttle |
| Next Edit Point (↓) | Jumps forward to the next edit point | Jump around the timeline |
| Go to End (End) | Moves the playhead to the end | Jump around the timeline |
| Loop | Turns looping on and off | Loop playback |
| Timecode | Shows the playhead’s time, then / and the length of the timeline. Click the time to type one. |
Jump around the timeline |
| Preview zoom | Picks Fit, 50%, 100% or 200% | Zoom and pan the preview |
| Safe | Shows the safe-area guides on the preview | Safe areas |
| Export… (⌘E) | Opens the export sheet | The export sheet |
Preview
Section titled “Preview”The preview shows the frame under the playhead, letterboxed in a grey well. A caption under it gives the size and rate, for example 960 × 540 · 30 fps. See The preview for everything it does.
Timeline bar
Section titled “Timeline bar”The bar above the time ruler names the selection and holds the tools that act on clips. From left to right:
- The selection block. It says what’s selected.
- Eight clip buttons. One click each, and a button’s tooltip names its key if it has one. Add Shape opens a menu of shapes.
- Snap. Turns snapping on and off.
- The level meter. It takes the spare width in the bar, so in a narrow window it shrinks and can disappear.
- The zoom controls. −, a slider, + and Fit (⇧Z). See Zoom and scroll the timeline.
- S, M and L. Sets the track height.
The selection block
Section titled “The selection block”| Selected | The block shows |
|---|---|
| One clip | A chip in the clip’s kind colour, the clip’s name, and its track and kind under that, for example Track 2 · video |
| Several clips | A count such as 3 clips, over the track or 2 tracks, and the kind or mixed |
| Nothing | No selection |
The block has a fixed width, so a long name is cut short and the tools beside it never move.
The clip buttons
Section titled “The clip buttons”| Button | Key | Read more |
|---|---|---|
| Split | ⌘T | Split clips |
| Trim Start to Playhead | W | Trim clips |
| Trim End to Playhead | E | Trim clips |
| Ripple Delete | ⌘⌫ | Delete, Ripple Delete and Lift |
| Add Marker | M | Markers |
| Duplicate | ⌘D | Duplicate clips |
| Add Text | T | Text clips |
| Add Shape | None | Shape clips |
Pane dividers
Section titled “Pane dividers”Drag the divider left of the inspector to set its width, and the divider above the timeline to set its height. New windows open at the sizes you chose, and the sizes are remembered between launches.
| Pane | Range | To start |
|---|---|---|
| Inspector width | 280 to 440 points | 304 points |
| Timeline height | 140 points up to 60 % of the height under the toolbar | 300 points |
The canvas keeps at least 380 points of width, and the area above the timeline at least 220 points of height.
Only dragging a divider saves a size. Resizing the window, restoring a window, or hiding and showing the inspector changes neither saved size, and the inspector’s width isn’t saved while it’s hidden.
To hide the inspector, see The inspector.
Minimize and Zoom
Section titled “Minimize and Zoom”These are the standard window commands. Window ▸ Minimize (⌘M) sends the window to the Dock, and Window ▸ Zoom makes it larger or smaller.
Don’t confuse Window ▸ Zoom with View ▸ Zoom In and View ▸ Zoom Out, which zoom the preview.