
Adjustment clips
An adjustment clip has no picture of its own. For as long as it lasts, it grades everything already drawn behind it, so one grade can cover a whole scene, or a graphic that has no Color tab of its own. It’s Frame Job’s adjustment layer, and over the whole timeline it’s a timeline grade.
- Menu
- Insert ▸ Adjustment Clip
- Where
- Clip tab ▸ Color ▸ Adjustment
- Agent tools
add_adjustment_clipset_videoset_action_end
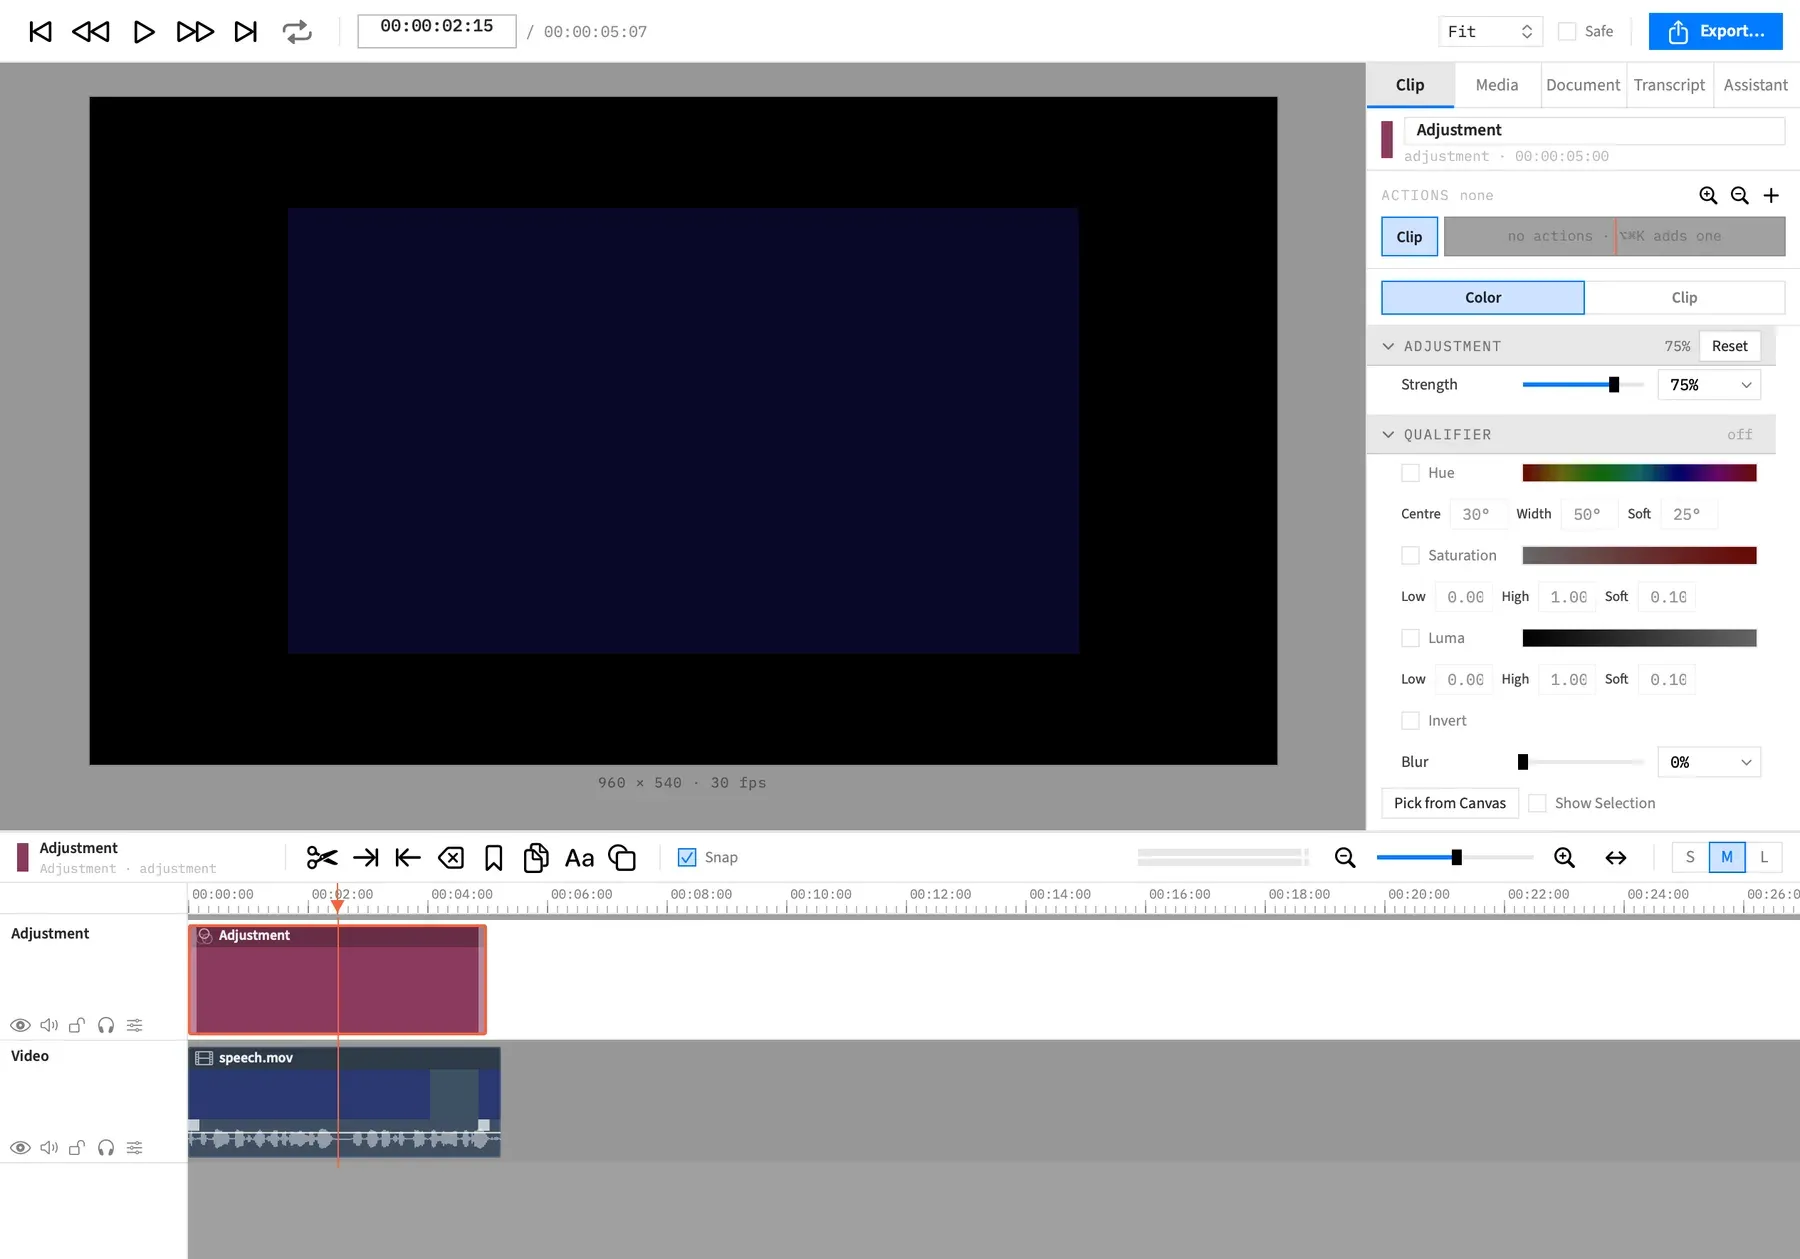
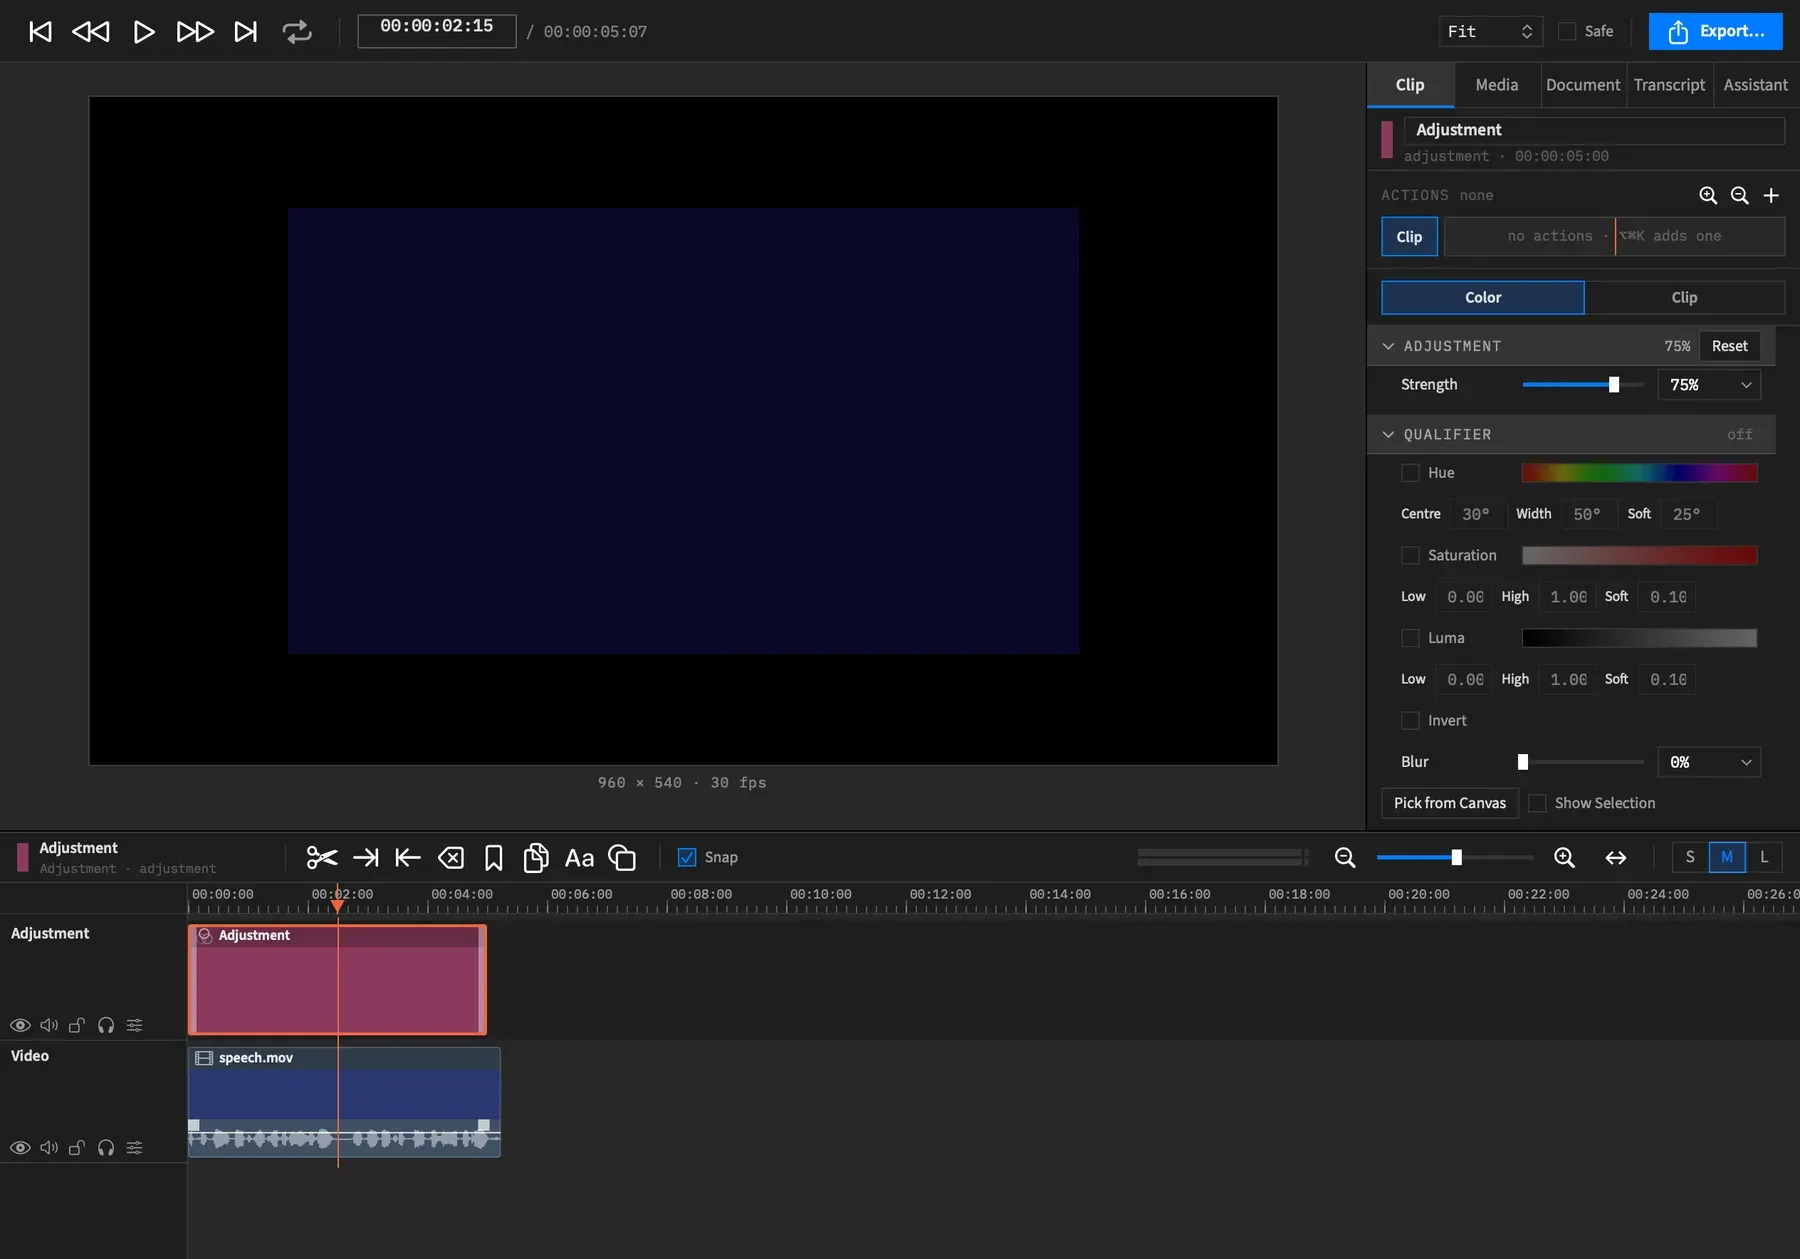
What an adjustment clip is
Section titled “What an adjustment clip is”An adjustment clip grades every lower track and the canvas background. It never touches a track in front of it, so a title above it stays as it is.
On the timeline it’s a plain rose block with its name strip and action lane, and no filmstrip. It has no file behind it, so no media length holds it back. Trim or move it to change what it covers.
Insert an adjustment clip
Section titled “Insert an adjustment clip”-
Say what it should cover: set an In–Out range, or select the clips. With neither, it covers the whole timeline.
-
Choose Insert ▸ Adjustment Clip. It has no shortcut.
-
Grade in the Color sub-tab, which is already open. The new clip is selected and the inspector shows Clip ▸ Color.
The whole thing is one undo step, Add Adjustment Clip. The menu item is greyed out while a nest is open, and when the timeline has nothing to cover.
Its span
Section titled “Its span”| What’s set | What the new clip covers |
|---|---|
| An In–Out range | The range, even if clips are selected too |
| Selected clips, no range | From the first selected clip’s start to the last one’s end |
| Neither | The whole timeline |
Its track
Section titled “Its track”The new clip goes on the front track when that track has room for the whole span and isn’t a matte track. Otherwise Frame Job adds a new front track named Adjustment and puts the clip there. A matte front track is never used, because an adjustment clip on one does nothing.
A project holds up to 64 tracks, counting the tracks inside nests. If the clip needs a new track and there are none to spare, nothing is added.
The full grade
Section titled “The full grade”An adjustment clip’s Color sub-tab has the same grade a picture clip has, plus two sections of its own at the top. In order:
| Section | What it does |
|---|---|
| Adjustment | Strength, how much of the grade is applied |
| Qualifier | Narrows the grade to the pixels you pick. See Qualifiers. |
| Light | Exposure and tone |
| Color | Brightness, contrast, saturation and hue |
| Wheels | Balance shadows, middle and highlights |
| Curves | Master, RGB and hue curves |
| Look | A built-in look or a .cube LUT |
Adjustment and Qualifier show only when every selected clip is an adjustment clip. Select one alongside a picture clip and you get the shared grade sections without those two.
No Picture tab
Section titled “No Picture tab”An adjustment clip has nothing to place or crop, so it has no Picture sub-tab. Its sub-tabs are Color and Clip. Picture also disappears whenever any adjustment clip is part of the selection.
Placement, crop, corners, shadow, reflection and the like can still arrive on one through Paste Attributes. They’re kept and have no effect.
Strength
Section titled “Strength”Strength sets how much of the grade is mixed over the picture behind the clip. At 100 % you see the full grade, and at 0 % you see the picture as it was.
| Control | Range | Default |
|---|---|---|
| Strength | 0 to 100 %, in whole percent, with presets at 0, 25, 50, 75 and 100 behind the field’s chevron | 100 % |
The section’s header shows the current strength. Its Reset button returns to 100 %, as one undo step named Adjustment.
Fade the grade in or out
Section titled “Fade the grade in or out”An adjustment clip can’t take a transition, so animate its Strength with an action instead. To fade a grade in:
-
Select the adjustment clip and set Strength to 0 %.
-
Put the playhead where the fade should start and press ⌥⌘K to add an action. It lasts 1 second, and you can resize it afterwards.
-
With the action selected, set Strength to 100 %. The grade ramps there from the Strength the clip has when the action starts.
-
Press Esc to go back to editing the clip itself.
To fade a grade out, leave the clip’s Strength where it is, add an action near the end of the clip and set Strength to 0 % inside it. See Animate a grade.
Confine it to part of the picture
Section titled “Confine it to part of the picture”An adjustment clip grades the whole frame behind it. There are two ways to narrow that:
- To an area: put a matte track directly in front of the adjustment clip’s track. On a track cut by a matte, the clip grades only inside the matte. The matte cuts everything on that track, so keep other clips off it.
- To a colour or brightness: set a qualifier. It picks pixels by hue, saturation and luma.
The two work together. The grade reaches only the pixels both allow, mixed at the clip’s Strength.
A matte is how you make a power window or a mask. Put a shape on the matte track and animate it with an action to move the area. A shape has no feather control, so for a soft edge use a picture with a soft edge of its own as the matte. A matte doesn’t track anything by itself, so you set that movement by hand.
The adjustment clip must not sit on the matte track itself. There it has no effect, and the inspector says “An adjustment clip on a matte track has no effect.”
Grade a graphic
Section titled “Grade a graphic”Graphics have no Color sub-tab, and neither do text, shapes or nests. To grade one, put an adjustment clip above it for the span you want. Select the clip first and Insert ▸ Adjustment Clip matches its span, unless an In–Out range is set. The adjustment clip grades every track behind it, so add a matte if other tracks show through.
Limits
Section titled “Limits”No nests
Section titled “No nests”An adjustment clip can’t go inside a nest. Insert ▸ Adjustment Clip is greyed out while one is open, Frame Job won’t nest a selection that holds an adjustment clip, and pasting one into an open nest fails. Inside a nest it would grade the layers behind the nest clip as well as the nest’s own.
To grade a nest, put an adjustment clip above the nest clip on the timeline.
No transitions or overlaps
Section titled “No transitions or overlaps”An adjustment clip can’t take a transition, and it can’t overlap another clip on its track, because an overlap is a transition. Frame Job won’t make the edit, so fade its Strength instead. Two clips that only touch are fine.
No blur, sharpen, pixelate or blend modes
Section titled “No blur, sharpen, pixelate or blend modes”These need pixels or a colour of the clip’s own, and an adjustment clip has neither. If Paste Attributes would bring one onto an adjustment clip, nothing is pasted.
The point filters, Sepia, Noir, Vignette and Invert, do work, and apply to the picture behind it. An adjustment clip has no Picture sub-tab, so they reach it through Paste Attributes or an agent.
Good to know
Section titled “Good to know”- A clip with no grade set changes nothing, and neither does a qualifier on its own. A qualifier narrows a grade, so there has to be one.
- Clip ▸ Speed…, Clip ▸ Speed Ramp… and Clip ▸ Add Blurred Background are dimmed for an adjustment clip, and its Clip sub-tab has no Speed section, because it has no source and no picture size. Retime Range still stretches or squeezes one inside its range.
With an agent
Section titled “With an agent”add_adjustment_clip places a clip on the track and at the time you name, and it lasts 5 seconds unless you give a duration. It doesn’t work out a span or a track as the menu does, so an agent can put one on a matte track, where it does nothing. It won’t add one while a nest is open.
set_video then grades it with everything the Color tab offers, and can also give it point filters directly. To an agent, Strength is the clip’s opacity, from 0 to 1, and set_action_end animates it. A blur, sharpen or pixelate filter or a blend mode is an error, such as “clip 7 is an adjustment clip and cannot take the blur filter”. See Tools: adding clips and Tools: picture and grade.