
The inspector
The inspector is the panel at the right of the editor window. It’s where you read and change the numbers behind what you see: the selected clips, the project’s media, the project itself, its words and the Assistant. This page covers how it’s laid out. Inspector fields covers how its controls behave.
- Menu
- View ▸ Hide InspectorView ▸ TranscriptView ▸ Assistant
- Keys
- ⌥⌘I⌃⌘T⌃⌘A
- Where
- The editor window, middle right
- Agent tools
set_clip
The five tabs
Section titled “The five tabs”| Tab | What it’s for |
|---|---|
| Clip | The selected clips. With nothing selected it reads “Select a clip to edit its properties.” |
| Media | Every file in the project. See The Media tab. |
| Document | The project as a whole. See The Document tab. |
| Transcript | The timeline’s words. View ▸ Transcript (⌃⌘T) goes straight there. See The Transcript tab. |
| Assistant | A conversation that edits this project. View ▸ Assistant (⌃⌘A) goes straight there. See Chat with the Assistant. |
The Clip tab’s pinned block
Section titled “The Clip tab’s pinned block”With a clip selected, three things stay pinned at the top of the Clip tab while its sections scroll underneath: the selection header, the action lane and the sub-tabs.
The selection header shows:
- A chip coloured by the clip’s kind. It’s neutral when the selected kinds have different colours.
- The name. With one clip selected this is a field. Type to give the clip its own name, which is one undo step, “Rename Clip”. Empty the field to go back to what the clip shows by default. This is the only control that clears a clip’s name.
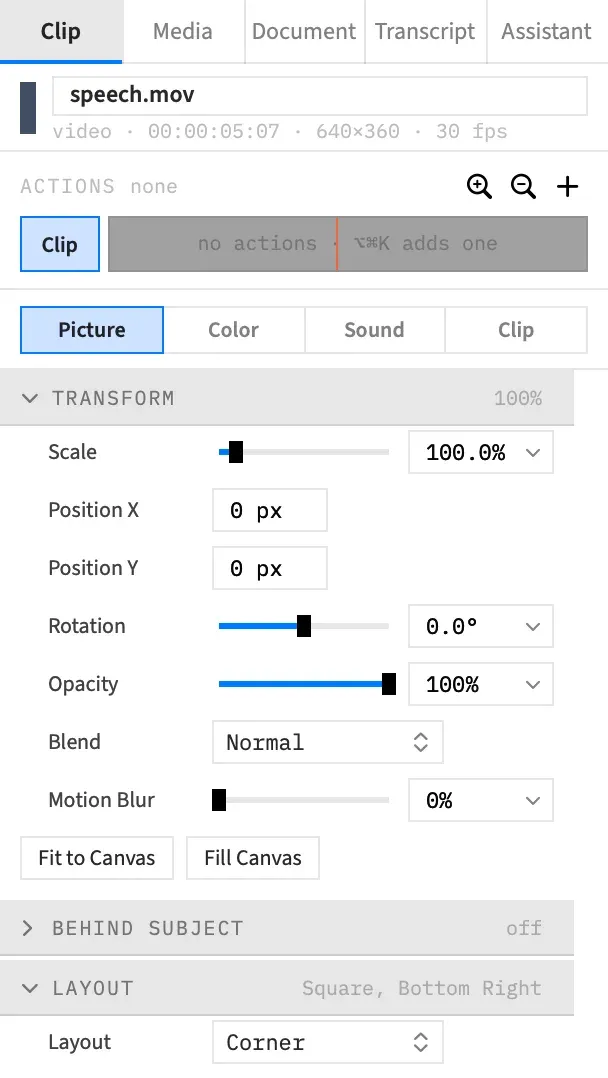
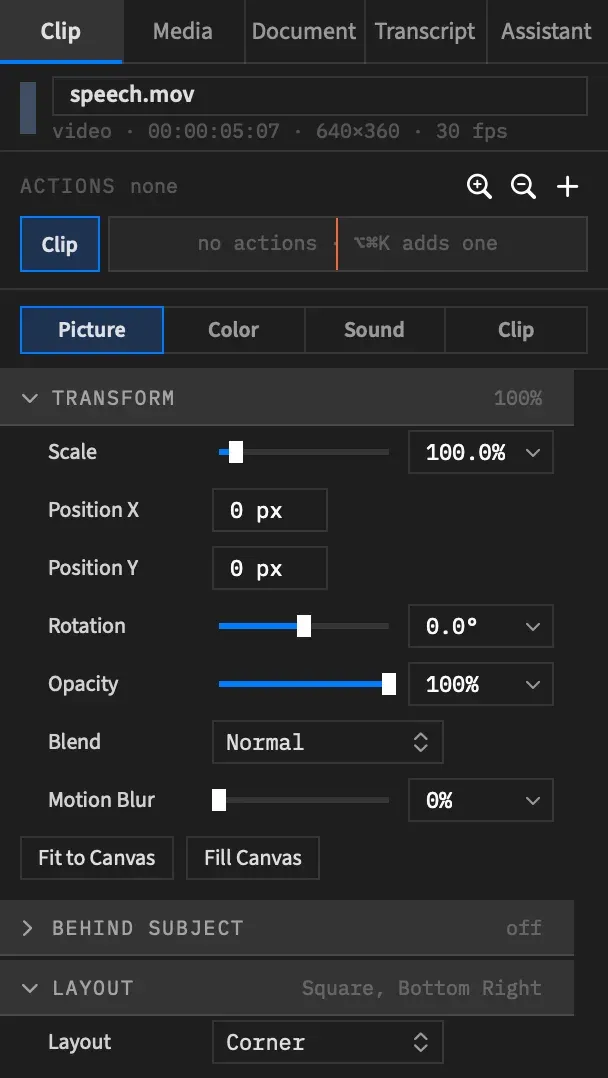
- A line of facts. The kind, the duration in the project’s timecode, the source’s pixel size and the source’s own frame rate, for example
video · 00:00:05:07 · 640×360 · 30 fps. A clip with no source shows only the facts it has. - A colour dot at the end of the name line, for a clip’s colour label. With several clips selected it shows only when they all share the label.
With several clips selected, the header reads “3 clips selected” and gives their total duration. Renaming here needs a single clip.
Sub-tabs
Section titled “Sub-tabs”The strip under the action lane splits the Clip tab into Text, Shape, Graphic, Picture, Color, Sound and Clip. It shows only what the selection can use, and sections that don’t apply are absent, not greyed out.
| Selected | Sub-tabs |
|---|---|
| A movie | Picture, Color, Sound, Clip |
| A picture | Picture, Color, Clip |
| A text clip | Text, Picture, Clip |
| A shape | Shape, Picture, Clip |
| A graphic | Graphic, Picture, Clip |
| A nest | Picture, Clip, with Sound before Clip when something inside can make a sound |
| An audio-only clip | Sound, Clip |
| An adjustment clip | Color, Clip |
With a mixed selection, the rules are these:
- Text, Shape and Graphic appear only when every selected clip is that kind.
- Picture appears when a selected clip draws, unless an adjustment clip is in the selection.
- Color appears when a selected clip draws and none of them is text, a shape, a graphic or a nest. An audio-only clip on its own doesn’t get it.
- Sound appears when a selected clip has sound.
- Clip is always there, last.
A sub-tab you pick stays active while the selection doesn’t change. A new selection starts on the first tab it has, so a text clip starts on Text and a shape on Shape.
While an action is selected, a sub-tab it changes shows a mark such as ◆2 after its label, counting what the action sets there. See Action bands and the action lane.
Selection follows to the Clip tab
Section titled “Selection follows to the Clip tab”Clicking a clip on the timeline or the canvas moves the inspector to the Clip tab, even if the clip was already selected. A selection that changes any other way, such as a paste, ⌘A, a marquee on the timeline or an agent, moves it only from Media or Document.
Two tabs hold their ground:
- Transcript stays when you click a clip, and scrolls to that clip’s first word.
- Assistant isn’t pulled away when the selection changes without a click on a clip, so the Assistant’s own edits don’t take you off the conversation. A click on a clip moves to Clip.
Clearing the selection moves no tab.
Fold a section
Section titled “Fold a section”Click a section’s header to fold it. A folded header keeps a one-line summary of what’s inside, such as 100% for Transform or 2 filters for Filters, so you can read a value without opening it. The fold is remembered per section, in every window and between launches.
The summary’s colour tells you about the section:
| Summary colour | What it means |
|---|---|
| The action colour | The selected action sets something in this section |
| Body text | The section differs from its default |
| Faint | The section is at its default |
On the Clip tab, a section you’ve never clicked starts closed, except Transform, a text clip’s Content, a shape’s Shape and a graphic’s Properties. Every Media and Document section starts open.
If every section on a Clip sub-tab would be shut, the first one you haven’t folded yourself opens by default. A section you closed yourself stays closed.
Inside an action, a section the action sets shows ◆1 or a higher count in its header and opens by itself, without changing what’s remembered. A faint ⊘ marks a section where every row is ⊘, because actions don’t animate it. See What an action can animate.
Folding animates, unless Reduce Motion is on in macOS.
Hide or show the inspector
Section titled “Hide or show the inspector”Choose View ▸ Hide Inspector (⌥⌘I) and the preview takes its space. The item then reads View ▸ Show Inspector. The inspector is shown by default, and your choice is remembered between launches.
Dragging the divider doesn’t hide it: the divider stops at the inspector’s smallest width, 280 pt, however far you drag. While the inspector is hidden, you can drag the divider back out to show it, and that’s remembered as if you’d chosen View ▸ Show Inspector.
View ▸ Transcript and View ▸ Assistant bring it back if it’s hidden.