
.cube LUTs
A LUT (look-up table) is a table that turns each colour in the picture into another. Use a .cube LUT to bring in a grade from another grading tool, a camera maker or a LUT pack. In Frame Job it’s a file in your project, like footage. You add it once, then use it as a clip’s look, or as the conversion for a log file.
- Menu
- Clip ▸ LookFile ▸ Add Media…
- Keys
- ⇧⌘I
- Where
- Clip tab ▸ Color ▸ Look ▸ Import LUT…Media tab
- Agent tools
import_mediaset_videoremove_media
Import and apply a LUT
Section titled “Import and apply a LUT”-
Select the clips you want to grade.
-
Open the Look section of the Color sub-tab, and click Import LUT… under the gallery. The sub-tab doesn’t show if the selection holds a text, shape, graphic or nest clip.
-
Choose a
.cubefile.
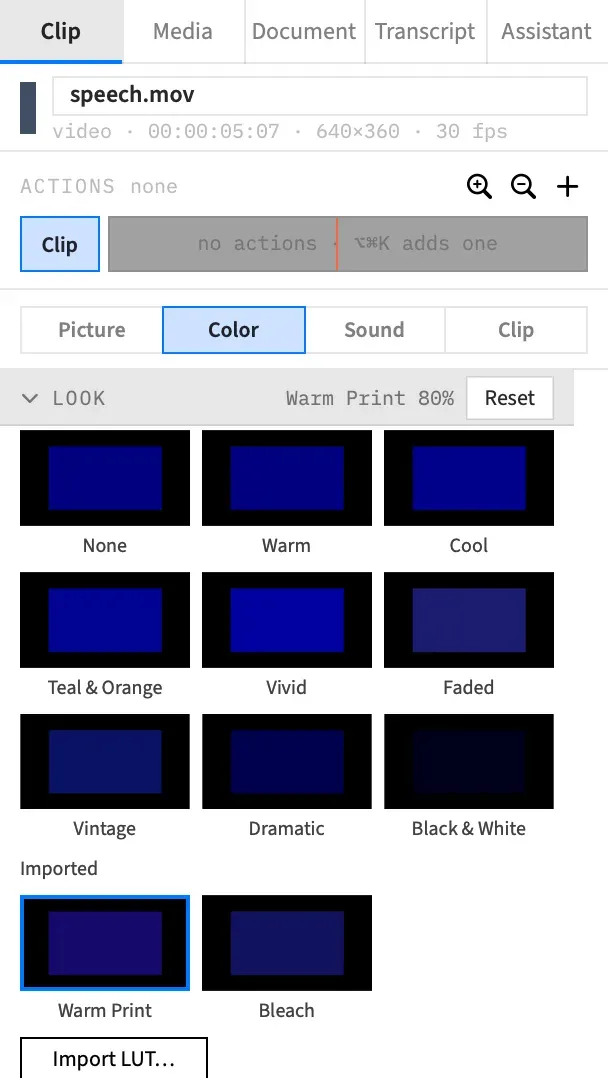
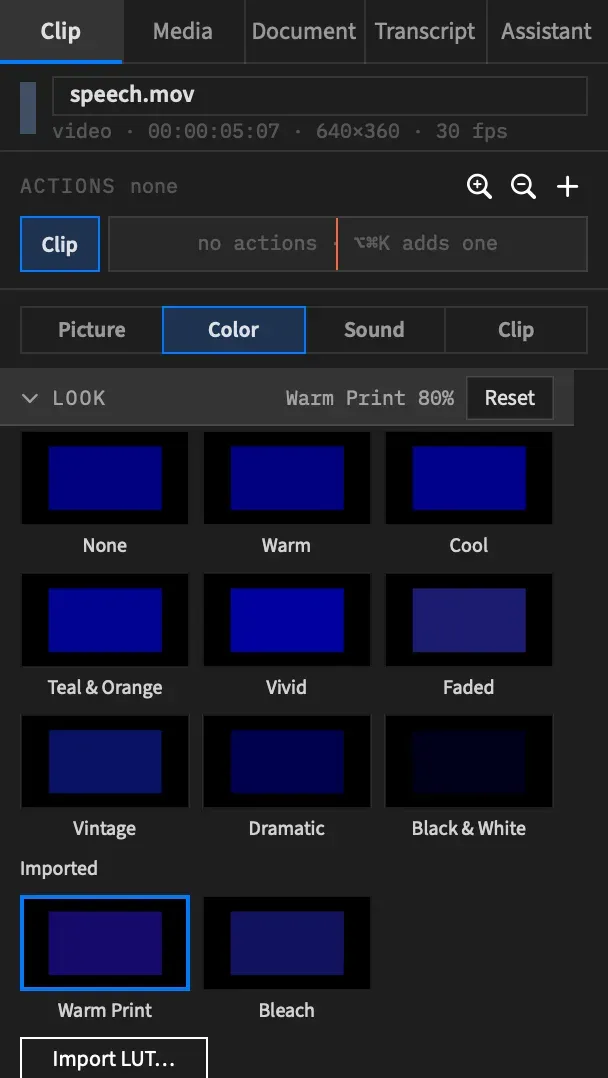
The file joins the project and goes on the selected clips as one undo step, Import LUT. If the file is already in the project, Frame Job reuses its entry rather than adding it twice. If Frame Job can’t read the file, an error appears and nothing changes.
Add a LUT without applying it
Section titled “Add a LUT without applying it”Add the file to the project and apply it later:
- Choose File ▸ Add Media… (⇧⌘I). A file with the
.cubeextension, in any case, counts as a LUT. - Or drop the file on the Media tab. It’s the only place in the window that takes a dropped
.cube.
Apply a LUT already in the project
Section titled “Apply a LUT already in the project”Every LUT in the project is offered in two places, in the order it was added, however the Media tab is sorted:
- The gallery. Its tile sits in the Imported group, in rows of three, and previews the LUT on your frame like any live thumbnail. The tile’s name is the file’s name without
.cube. With no LUTs in the project, the group isn’t there. - The menu. It’s an item in Clip ▸ Look, between the eight looks and None.
Both work as they do for a built-in look, on every selected clip, as one undo step, Look.
A LUT is a look
Section titled “A LUT is a look”A LUT applied to a clip behaves like a built-in look. It comes at the same point in the grade, uses the same Amount row, and is removed the same way. A clip that had a look keeps its amount, and a clip with none gets 100%. A clip holds one look, so a LUT replaces a built-in look, and a built-in look replaces a LUT. A LUT also travels with a paste into another project.
LUT rows on the Media tab
Section titled “LUT rows on the Media tab”A LUT appears in the Media tab with a cube icon, and its tooltip reads “A LUT: apply it to clips as a look.”
A LUT never goes on the timeline. You can’t drag its row, Insert at Playhead and Overwrite at Playhead are off in its right-click menu, and the same commands in the menu bar stay dimmed while its row is selected.
The rest of the row works as it does for footage:
- Reveal in Timeline selects the timeline clips whose look it is.
- Reveal in Finder shows the file, and Relink… points the entry at a new one. A LUT relinks only to another
.cubefile. - Unused only leaves out a LUT that a clip’s look or a file’s Camera Log uses.
- Consolidate Media copies the file into the project with everything else.
Supported .cube files
Section titled “Supported .cube files”Frame Job reads 3D LUTs in a text .cube file of up to 32 MiB. Between the table’s points it interpolates trilinearly.
| In the file | What Frame Job does |
|---|---|
LUT_3D_SIZE from 2 to 65 |
Reads it. The line is required, and it comes before the table. |
TITLE, # comments, blank lines |
Reads past them. |
| Windows line endings or a UTF-8 byte order mark | Reads them. |
DOMAIN_MIN 0 0 0, DOMAIN_MAX 1 1 1, LUT_3D_INPUT_RANGE 0 1 |
Accepts them, because they’re the defaults. |
| Table values outside 0 to 1 | Accepts them, and clamps them to 0 to 1 when drawing. |
Frame Job won’t take anything else. It shows an error, usually naming the line it stopped at, and the file stays out of the project. That covers:
- A file that isn’t text, or is over 32 MiB.
- A 1D LUT.
- A
LUT_3D_SIZEoutside 2 to 65, or a secondLUT_3D_SIZEline. - A domain or input range that isn’t the default.
- A keyword Frame Job doesn’t know, or any keyword after the table.
- A table with too few or too many rows, or a row without three numbers.
- A value that isn’t a finite number.
The message reads, for example, ““Film.cube” is not a LUT Frame Job reads: line 2: LUT_3D_SIZE 200 is outside 2–65.”
Warnings in the Look section
Section titled “Warnings in the Look section”The section warns you in two cases. Neither stops you, and the LUT still applies.
| The warning | When it shows | What it means |
|---|---|---|
| “This clip’s file is converted by Camera Log; a camera LUT here converts it twice.” | A selected clip’s look is a LUT and its file has a Camera Log setting. | A creative LUT is fine there. A camera LUT would convert the footage a second time. |
| “This project is HDR (HLG): a .cube LUT reads its values as Rec. 709.” | A selected clip’s look is a LUT and the project is HDR. | The LUT’s values keep their 0-to-1 meaning. Frame Job doesn’t adapt them for HDR. |
A changed file
Section titled “A changed file”Frame Job reads the .cube file where it is. If you change the file on disk, the new table is read the next time a frame is drawn. There’s nothing to import again.
A missing or broken file
Section titled “A missing or broken file”If the file goes missing, or can’t be read any more, the clip draws without its look. The rest of its grade still applies, and the look stays on the clip. A clip’s look comes back once the file is back.
A missing LUT shows the missing badge in the Media tab, and it’s in the list Frame Job offers to relink when the project opens. A file that’s there but broken has no badge, and the look doesn’t draw until you fix the file or relink it.
Remove a LUT in use
Section titled “Remove a LUT in use”A LUT counts as used by every clip whose look it is, on the timeline or in a nest, and by every file whose Camera Log it is.
-
In the Media tab, right-click the LUT’s row and choose Remove.
-
Read the alert, which counts the clips that would lose the look and the files that would lose their Camera Log. For example, “It is the look of 3 clips, which keep their place and lose the look.”
-
Choose the button, which names what it clears, or Cancel: Remove and Clear Looks for looks, Remove and Clear Camera Log for a Camera Log, or Remove and Clear Looks and Camera Log for both.
The button removes the LUT, clears the look from those clips and clears the Camera Log from those files, as one undo step, Remove Media. The clips stay where they are. An unused LUT is removed straight away, with no alert.
With an agent
Section titled “With an agent”An agent adds the file with import_media, then applies it with set_video, naming the media id import_media gave it: {look: {kind: "lut", media: 9}}. media is required with lut, and it’s an error with any other kind.
An agent can’t place a LUT as a clip. add_clip, insert_clip, overwrite_clip and add_background give an error that says how to apply it instead. remove_media won’t remove a LUT in use unless the call sets with_clips, which clears those uses as Remove and Clear Looks does.
An agent can also name a LUT at an action’s end. That action stays if the LUT is removed. Once it ends, the clip draws no look, even if it has one of its own. See Tools: picture and grade and Tools: media.